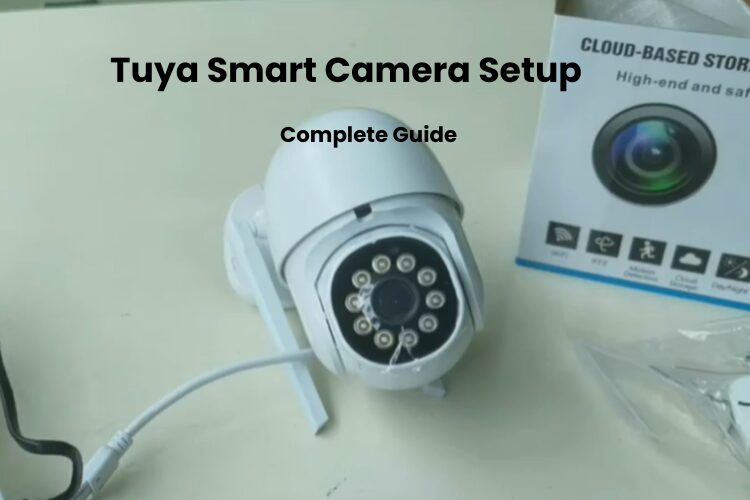
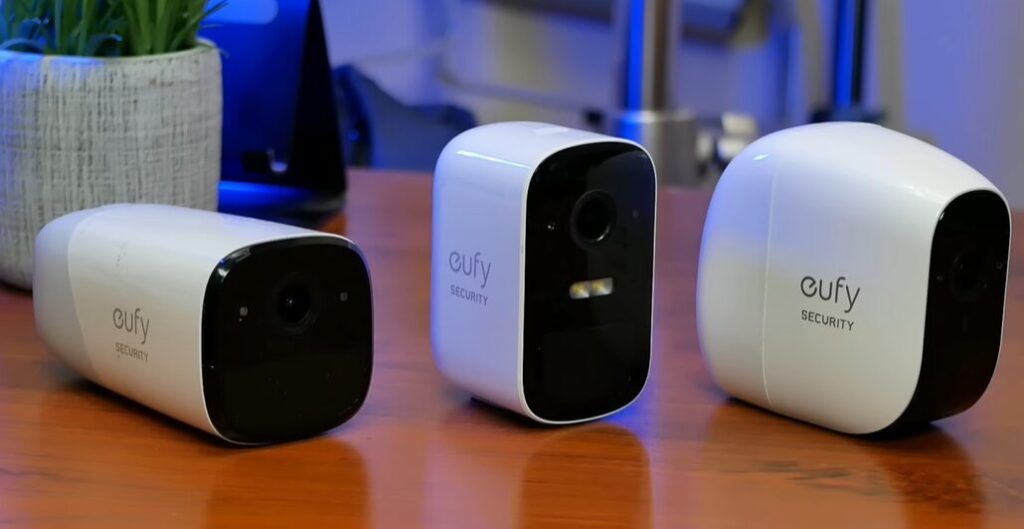
Tuya Smart Camera is designed to make your home security simple and accessible. As smart home devices grow in popularity, Tuya Smart Camera stands out from other cameras with its easy installation.
This guide will take you through each step of the setup, so you can start monitoring your home with minimal effort, and the smart system supports a variety of devices that allow smooth integration for a smart security home.
Whether you’re new to smart home technology or just starting, setting up your Tuya Smart Camera is a simple task that brings the ultimate in local security to your doorstep.
How to Set Up a Tuya Smart Camera
Connecting a Tuya smart camera to your home network is a simple process. Follow these steps to get started:
- First, download the Tuya Smart app from the App Store (iOS) or Google Play (Android).
- Make sure your phone is connected to a 2.4 GHz Wi-Fi network.. If your router uses both 2.4 GHz and 5 GHz under one name, separate them into distinct networks.
- Disable any active VPN or ad-blocking apps like AdGuard on your phone. These can interfere with the setup process.
- During setup, place the camera close to the router. Once connected, you can move it to its final location.
- Don’t forget to take off the lens cap before proceeding to avoid any image issues later.
Open the Tuya Smart app and set up your account. Simply fill in your details, accept the terms, and verify your account. If you already have an account, just log in to get started.
Having a Tuya account unlocks features like cloud storage, voice control with Alexa, Google Assistant, or SmartThings, and device sharing. These benefits aren’t available if you use the app in guest mode.
If your device uses Bluetooth for setup, ensure Bluetooth is enabled on your phone. You’ll also need to turn on location services and grant permission for the app to discover devices on your network.
Easily Add a Tuya Smart Camera to Your App
Setting up your device is simple and quick once your account is ready. Here’s how to add a device without any hassle.
- Ensure your smart mobile device is connected to your home Wi-Fi network and open the Tuya Smart app.
- In the upper right corner, click on the “+” icon or select the “Add device” button. If your location settings are off, you’ll be prompted to enable them and grant permission.
- Select the “Camera & Lock” category from the options on the left side of the screen.
- Tuya offers several camera types such as Wi-Fi, BLE, Dual Band, 4G, or Doorbell cameras. Choose your specific model from the list shown on the app.
- Plug your camera into a working power outlet. Next, press and hold the RESET button for 5 to 10 seconds to enter pairing mode. The camera’s LED light will flash rapidly, signaling that it’s ready.
- Once the LED flashes or you hear a prompt from the camera, click the confirmation button on the app and press Next.
- Choose your 2.4 GHz Wi-Fi network from the available options and enter the password. Tap Next to continue.
- Hold your camera about 10 to 15 cm away from the QR code on the app screen. After a successful scan, you’ll hear a confirmation prompt. Tap “I heard a prompt” to move forward.
- Let the app do its job by scanning, registering, and initializing your camera. Once it’s successfully added, you’ll see a confirmation message.
- If you want to personalize your camera, tap the pencil icon to edit its name. When you’re done, hit Done to save your changes.
- Your camera will show up on the app’s home screen. Simply tap on it to access the live feed and customize the settings according to your preferences.
With these simple steps, you’ll have your Tuya Smart camera up and running in no time!
Test the Live View
If you’re having trouble viewing the live feed from your Tuya Smart Camera, try these solutions:
- Check Internet Connection – Ensure both your camera and phone are connected to a stable Wi-Fi network.
- Restart the App – Close and reopen the Tuya Smart app to refresh the connection.
- Restart the Camera – Simply unplug the camera, wait for a few seconds, and then plug it back in.
- Clear App Cache – Go to your phone’s settings and clear the app cache to remove any temporary data causing issues.
- Update the App – Make sure your Tuya Smart app is up to date with the latest fixes.
If these steps don’t work, you might need to check if there’s an issue with the camera itself or the Wi-Fi signal.
How to Connect the Camera to Wi-Fi
If your Tuya camera isn’t connecting, it could be due to a few common issues. These problems often stem from your Wi-Fi settings or the camera’s placement. Here are some reasons why your Tuya camera may not be pairing properly:
- 5 GHz Wi-Fi Network: Tuya cameras are only compatible with the 2.4 GHz Wi-Fi band, not 5 GHz. Double-check that you’re connecting to the correct network.
- VPN or Ad-blocker: If you have a VPN or an Ad-blocker running on your phone, it can prevent the camera from connecting. These tools can hide your device’s IP address, causing issues with network access.
- Distance from Router: Your camera needs to be within your router’s range. If it’s too far from the router, it won’t be able to connect.
- Incorrect Camera Selection: When setting up your camera in the Tuya app, ensure you select the correct camera model. Selecting the wrong one can lead to setup errors.
- Permissions Issues: Make sure that the Tuya app has the necessary permissions for location and Bluetooth access. These permissions are required for a successful connection.
If your Tuya camera still won’t connect, try using a different setup mode. The Tuya app offers options like QR, Wi-Fi, or cable mode for different camera types. Switching to a different setup method might solve the issue.

