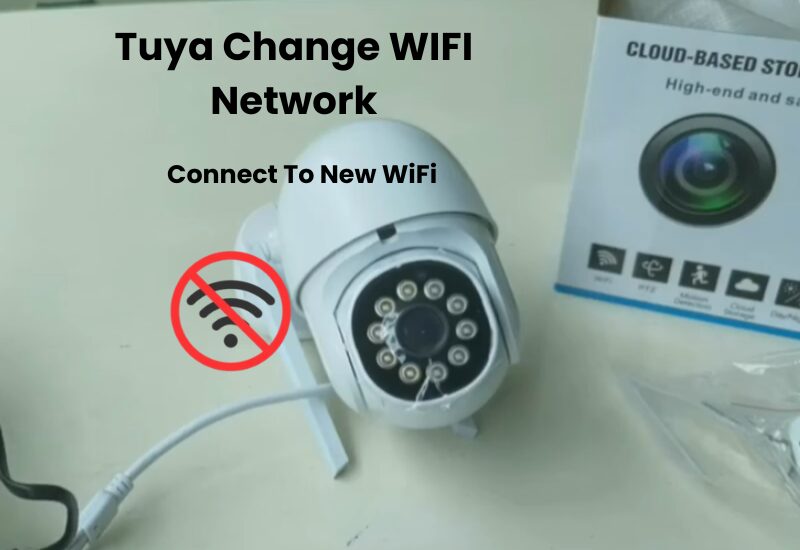
Are you having trouble changing the Wi-Fi network on your Tuya smart devices? Whether you’re upgrading your router or simply updating your Wi-Fi password, it’s crucial to know how to switch the network your Tuya devices are connected to. Luckily, this process is easy to do using the Tuya Smart app.
To change the Wi-Fi network, you’ll first need to disconnect your Tuya devices from the current network and then reconnect them to the new one. This can be done quickly by following a few simple steps in the Tuya Smart app. Just make sure you have your new Wi-Fi network name and password ready before you start.
How to Change Wi-Fi Network on a Tuya Device?
To change the Wi-Fi network on your Tuya device, you’ll need to reset it to clear the previous settings and set it up again with the new network. When the device is in pairing mode, it behaves like a new device, and you can connect to it as if it were the first time.
However, for certain Tuya security devices—such as cameras, doorbells, and similar gadgets—resetting alone may not be enough. In these cases, you’ll need to first remove the device from the Tuya app before performing a reset to restore the factory settings.
The reset steps can vary depending on the device, but you can always find detailed instructions in your user manual or through the Tuya Smart app. The app will guide you through the process, asking whether the device is in pairing mode to help you reset it.
Here’s a simple process to change your Wi-Fi network on a Tuya device:
- To remove the device from the Tuya Smart app, follow these steps: Open the app and find the device on your home screen. Tap the three dots ( … ) to access the control panel. Scroll down the list and select “Remove“ to delete the device.
- Reset your Tuya device.
- Reconnect the Device to the Tuya Smart App.
- Update the device’s firmware to the latest version.
This process is straightforward and should work with all Tuya devices.
Keep in mind, removing and resetting your device will erase all previous settings and automation configurations. You’ll need to reconnect and reconfigure the device from scratch. The Tuya Smart app serves as the bridge to control your devices, connecting them to your account.
How to Connect Tuya Device to New Wi-Fi Network?
If you need to connect your Tuya device to a new Wi-Fi network, follow these simple steps. First, deleting the device from the Tuya app. Next, put the device into pairing mode. You’ll know it’s in pairing mode when you see the indicator light flashing. Finally, reconnect the device to the new Wi-Fi network using the Tuya app.
The Tuya Smart app offers two ways to connect your devices — EZ Mode and AP Mode. Each mode works differently, and knowing when to use them can save you time.
EZ Mode
- This mode lets you connect multiple devices simultaneously.
- It’s faster and more convenient if you have multiple devices to set up.
AP Mode
- This mode connects one device at a time.
- You must connect your phone to the device’s hotspot to complete the setup.
- AP mode is useful if you experience issues connecting through EZ mode.
If you’re having trouble with the connection, switching to AP mode might solve the problem.
Once your device is in pairing mode, you can reconnect it to the Tuya Smart app. But don’t forget these two important tips:
- Use the Same Wi-Fi Network: Ensure that your phone is connected to the same Wi-Fi network as the device you want to link.
- Disable VPN: If you have a VPN running on your phone, turn it off during the setup process. A VPN can interfere with the connection.
By following these steps, you can easily connect your Tuya device to a new Wi-Fi network without frustration. Whether you use EZ mode or AP mode, you’ll have your smart home devices back online in no time.
How to Reconnect Your Tuya Smart Device to Wi-Fi
Here’s how to reconnect your Tuya device to a new Wi-Fi network in a few simple steps. Once your device is reset, the Tuya Smart app makes the connection process easy to follow. Just follow the prompts in the app to get your device back online.
- Launch the Tuya app on your smart mobile phone or tablet (make sure you’re logged in to your account).
- Tap the “+” icon to add a new device, then select “Add Device.” If you haven’t already, enable your location and give the app permission to access your location and Bluetooth.
- On the left side of the app, choose the appropriate category for your device (e.g., Electrical, Lighting, Sensors).
- After selecting the category, pick the specific device type you want to connect.
- Pick your 2.4 GHz Wi-Fi network and enter the correct password. Tap “Next” to continue.
- Turn on your Tuya device and ensure the light or status indicator is blinking. Choose the blinking mode: fast blinking means EZ Mode, while slow blinking means AP Mode.
- If you choose AP Mode, you’ll need to connect to the device’s hotspot and return to the Tuya app to finish setup. EZ Mode is quicker, as the app will automatically start connecting to your device.
- Give your device a name and complete the setup process.
That’s all! You’ve successfully connected your Tuya device to a new Wi-Fi network. If needed, you can remove the device from the app, reset it to enter pairing mode and reconnect to your home Wi-Fi.

