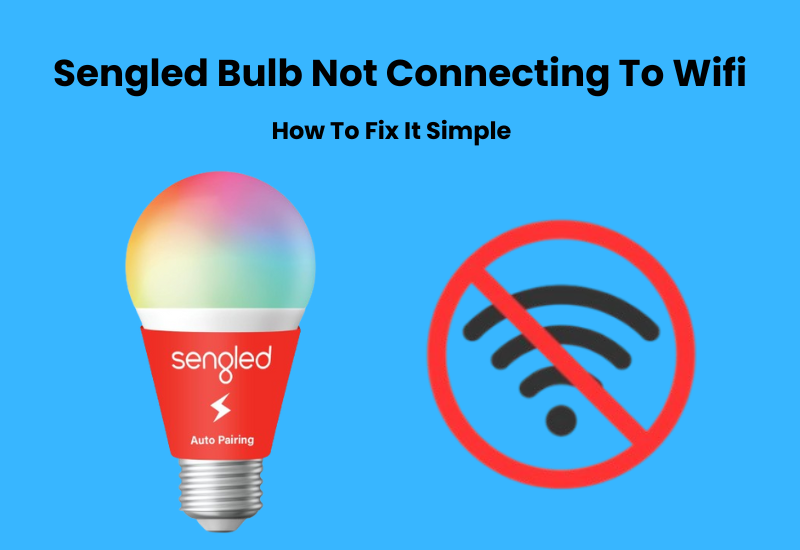
Sengled offers users WiFi, Zigbee, and Bluetooth models that provide a range of smart bulb options. You can unlock smart features by pairing your Sengled bulb with a compatible app. However, you may encounter some connection issues during the Sengled setup process.
The Sengled home app is available for pairing for WiFi and Zigbee models which have a separate Sengled app if you use a Bluetooth bulb. You can connect those bulbs directly to your smart home system with virtual assistants like Alexa or Google Home. Note that the Bluetooth bulb can only be connected to one app at a time.
Now if you have trouble connecting your smart bulb to your home network then no need to worry. Let’s walk you through some steps to help fix this problem and get your smart bulb working again.
Hiw To Fix Sengled Bulb Not Connecting To WiFi?
If your Sengled smart bulb won’t connect, it might be due to a few common issues. First, Sengled smart bulbs do not connect to 5 GHz Wi-Fi networks or when a VPN is running on your mobile device. Make sure to check the model of your Sengled smart bulb and grant the necessary permissions when connecting it to your network. A quick reboot of your network router and the smart bulb can also help, so try that before proceeding.
Sengled offers various models, including Wi-Fi, Bluetooth, and Zigbee bulbs. Each type has specific requirements for connecting to your network. For Zigbee models, you’ll need a Sengled Smart Hub that is already linked to your home network.
Here are some common reasons why your Sengled smart bulb might be having trouble connecting:
- Sengled Wi-Fi bulbs only work with 2.4 GHz networks.
- Router settings like firewalls, MAC address filtering, or port blocking might prevent new devices from connecting.
- Ensure the app has permission to access Bluetooth and location services, as these are necessary to find devices on your network.
- Ensure that your Sengled smart bulb is set to pairing mode. Use a compatible fixture when turning on the bulb.
- If you’re using a Zigbee model, confirm that the Smart Hub is properly connected to your network before adding the lights.
- Turn off mobile data, VPNs, and ad blockers on your device, as these can interfere with the connection.
- Make sure the bulb is close enough to your Wi-Fi network to get a strong signal.
When setting up your Sengled Wi-Fi smart bulbs, connect your mobile device to the correct 2.4 GHz network. It’s also important to double-check your bulb model. Make sure you’re using the right setup method; for instance, you may be trying to connect a Bluetooth bulb to a Wi-Fi network.
Check Your Internet Connection
Sengled Wi-Fi bulbs only work with 2.4 GHz networks. Make sure your mobile device is connected to this network.
If your router uses both 2.4 GHz and 5 GHz bands under the same name (SSID), try turning off the 5 GHz band or setting up two separate networks.
Some newer routers can’t separate the two bands. If that’s the case, move to the edge of your network—this is the furthest spot where your mobile device can connect. This should help it switch to the 2.4 GHz band.
Once you’re in the right spot, power on the light bulb and connect it to your network using the Sengled Home app.
Besides the network band, a few other settings could prevent your new device from being detected. To fix this, log in to your router’s admin panel and:
- Disable MAC Address Filtering: This may block new devices from connecting.
- Use a Simple Wi-Fi Password: Avoid special characters for easier access.
- Select WPA/WPA-2 PSK: This is a recommended security setting.
- Check Port Blocking and Firewall Settings: These could hinder device connections.
- Disable IPv6: Set your router to use IPv4 instead.
- Turn Off AP Isolation and Band Steering Features: These may affect connectivity.
If you make any changes, forget the network on your mobile device and restart your router.
Power Cycle the Bulb
Power cycling is a straightforward method to reset your Sengled bulb. This step can help resolve connection issues and restore the bulb’s functionality. Here’s how to do it effectively:
- Use the light switch or smart plug to turn the bulb off.
- Leave the bulb off for about 10 seconds.
- Switch the bulb back on. It should illuminate normally.
- If it doesn’t connect, turn the bulb off and on three times. On the third time, it should flash, indicating a reset.
- Open the Sengled app or your smart hub and follow the prompts to reconnect the bulb.
Setting Up Your Smart Bulb
To connect your smart bulb, make sure you’re within the range of your Wi-Fi network. It’s best to be closer to the router for a stronger signal. After you successfully pair the bulb, you can move it to its final location.
So, start by bringing the bulb closer to your main router and try connecting it again.
Once it’s connected, ensure that the final spot has a good signal to keep the bulb working properly. If the signal is weak, you may face issues with its response.
Check for Firmware Updates
If your Sengled bulb is not connecting, one of the first steps to troubleshoot is to check for firmware updates. Firmware updates are essential as they fix bugs, improve performance, and enhance compatibility with other devices. Here’s how to check and apply any available updates:
- Launch the app and log into your account.
- Go to the “Devices” section and find the bulb having issues.
- Look for “Firmware Update” or “Check for Updates” in the settings. Tap it to see if an update is available.
- If there’s a new update, simply follow the steps on your screen to install it. Keep the bulb powered on during the process.
- After updating, turn the bulb off for a few seconds and then turn it back on to refresh the connection.
Reset Your Sengled Bulb
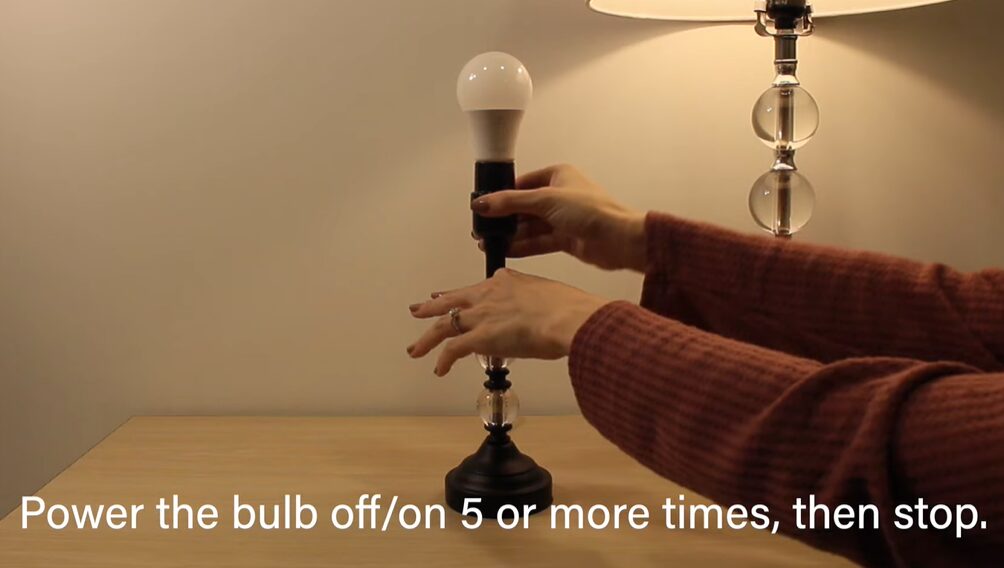
If your Sengled bulb is not connecting and other troubleshooting steps haven’t worked, resetting the bulb is a great option. A reset restores the bulb to its factory settings, clearing any connection issues. Here’s how to do it effectively.
- Ensure the bulb is powered on.
- Quickly turn the bulb off and on five times in a row.
- After the fifth switch, the bulb should blink, indicating a successful reset.
- Launch the Sengled app on your smartphone.
- Follow the app’s instructions to add the bulb back to your network. Make sure you’re on the correct Wi-Fi, usually the 2.4 GHz band.
Check Bulb Pairing Mode
When you set up a new Sengled bulb, it’s crucial to put it into pairing mode. This mode activates automatically when you power it on with a compatible lamp or fixture. In pairing mode, the bulb will flash three times and create a Wi-Fi hotspot. You’ll typically see this network named “Sengled_Wi-Fi Bulb_XXXX.”
If you can’t find this network on your mobile device, the bulb may not be in pairing mode, or it could be defective. To resolve this, try resetting the bulb. You can do this by turning its power off and on 5 to 10 times.
Troubleshooting Sengled Bulb Not Connecting
Sometimes, outdated or corrupted app versions can cause connection issues. Start by clearing the app cache. Then, check for updates in your app store. If there’s an update available, download and install it on your device, then attempt to reconnect your bulb. If that doesn’t work, try uninstalling and reinstalling the app completely.
Certain devices may struggle to connect with specific smart home brands. If you’re having trouble with your current device, consider using a different phone. If possible, choose one that runs on a different operating system to see if that helps.
Sengled smart bulbs can also work with Smart Life or Tuya Apps. I If you haven’t explored these apps yet, now is a great time to try them out. You might find that they help you connect your smart bulb successfully.
If the internal components of your bulb are defective, you may not be able to connect at all. For instance, if the bulb doesn’t emit a hotspot while in pairing mode, it could be a sign of a problem. In this case, reach out to Sengled support for assistance. They can provide guidance and possibly arrange for a replacement if your unit is faulty.

