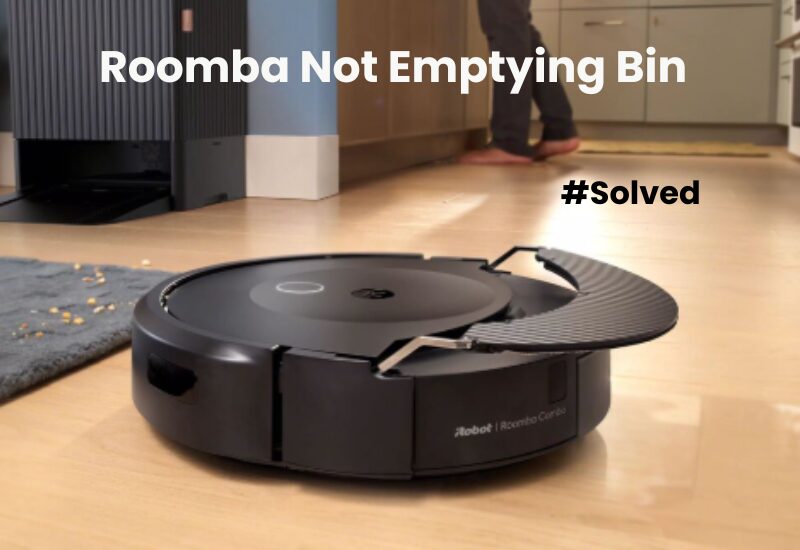
A Roomba is a smart and efficient automatic vacuum cleaner. It’s like having your own cleaning helper right at home. But just like people, even smart robots can face issues. One common problem users face is the Roomba not emptying itself.
If your Roomba isn’t emptying as it should, the first thing to check is if the clean base is properly plugged into a working power outlet. If the power connection is fine, other issues might be causing the problem. It could be a problem with the lid, the bag, or even the evacuation port.
Why Your Roomba Not Emptying the Bin?
If your Roomba robot vacuum isn’t emptying its bin, dirt, and dust buildup under the front bumper could be the cause. This accumulation prevents the vacuum from communicating properly with the clean base. Another possible issue is that the “Do Not Disturb” feature might be activated. To fix this, clean the bumper and dock sensors, and then try initiating a self-empty cycle.
Roomba’s self-emptying feature provides a hands-free cleaning experience. Once the vacuum finishes a cleaning cycle, it empties its bin into the clean base, saving you time and effort.
When everything works correctly, Roomba empties its bin as soon as it docks. The iRobot Home app also shows an “Empty Bin” button that allows you to manually start the emptying process.
If your Roomba isn’t self-emptying, there are a few things to check:
- Dirt and dust buildup under the front bumper
- Insufficient power reaching the clean base
- A clogged self-emptying system
- The clean base lid not being firmly closed
- The “Do Not Disturb” feature is turned on
- Missing evacuation port on the bin
- Poor alignment of the charging dock
To diagnose the issue, pay attention to the clean base’s LED indicator. A solid red light means the bag is either missing or full. Replace the bag or make sure it is properly seated in its chamber. If the LED is blinking, there could be a clog or leak in the evacuation path. Clear the evacuation opening and make sure there’s no debris blocking the path. Also, check that the lid is sealed properly.
How to Fix Roomba Not Emptying Bin?
There are several reasons why your Roomba might not be emptying its bin. Before diving into the detailed troubleshooting steps, there are a few simple checks you can make to get your Roomba back on track.
First, ensure that the clean base is plugged into a working power outlet. For a Roomba i7, look for the LED indicator; it should turn solid white when the vacuum docks correctly.
Next, open the clean base lid to inspect the power connection. If the LED light is red, it indicates that the outlet is supplying power, and the base station is operating properly. You can then shift your attention to other possible problems.
Once you’ve confirmed these points, try these troubleshooting solutions to fix the problem of your Roomba not emptying its bin.
Clean Your Front Bumper for Better Performance
Over time, dirt and dust can build up on your robot vacuum, leading to communication issues. This is especially true around the front bumper, where dirt tends to accumulate as the vacuum moves around.
To keep your robot vacuum working smoothly and extend its lifespan, iRobot recommends cleaning it at least once a month.
So, how do you clean your robot vacuum, especially the important areas mentioned above?
First, use a soft cloth to gently wipe away any dirt and dust on the surface of the vacuum. Don’t forget to clean the charging base as well using the same method.
When cleaning the charging base, pay close attention to the IR window. Use a soft cloth to remove any dirt or dust buildup in this area.
Once the outside is clean, flip your robot vacuum over to access the front bumper’s underside. You can either blow out the dirt using a can of compressed air or use a vacuum cleaner to suck it up.
Alternatively, if you want a deeper clean, you can unscrew the front bumper. 10 screws are holding it in place, so use a screwdriver to carefully detach it.
Dirt and dust buildup in this area can cause communication problems between the vacuum and the clean base.
Be gentle when handling the front bumper. Pulling it too hard may damage the electrical wires. Once you’ve cleared the dirt, reattach the bumper, screw it back into place, and test the self-emptying feature.
Finally, don’t forget to clean the sensors, wiping off any dust or debris that may have built up.
Disable DND on iRobot Settings
When I’m working from home, I often turn on the Do Not Disturb (DND) feature to avoid the robot’s emptying noise. Since my work desk is close to the clean base, it can be quite distracting.
It’s possible that the DND feature was accidentally activated. To check, open the iRobot app and take a look.
The DND feature stops the robot from emptying its bin when it docks, helping create a quieter environment.
To check if it’s on, open the iRobot Home app and go to the settings in the smart home section. If the DND feature is enabled, simply turn it off to let the robot resume its usual tasks.
Roomba Clean Base Not Emptying
If the pathway is clogged or blocked, your robot vacuum may not be able to empty itself properly. In this case, the clean base will signal an issue with a flashing red LED light.
To fix this, first, remove the robot vacuum and unplug the clean base from the power source. Then, thoroughly inspect the base.
Check the evacuation port for any blockages. If you find any debris, clear it out and wipe the area with a soft cloth.
Next, examine the pathway and remove any obstructions or debris that could be blocking the flow.
Open the top lid to make sure the disposable bag is seated correctly. If necessary, pull the plastic tab to remove the bag and check if it’s full.
Inspect the blower cover for any lint or debris buildup. Use a clean, dry cloth to wipe it off.
Give the bag a good shake to clear any blockages, helping the waste settle at the bottom. Reinstall the bag and securely close the top lid.
Plug the base station back into the power outlet and send your robot vacuum home. You can initiate the emptying process through the app or manually on the vacuum. If everything works, your vacuum is good to go.
How to Manually Initiate Self-Emptying on Roomba?
Self-emptying Roomba robot vacuums are designed to automatically empty their dustbins when they return to the clean base. The clean base serves two purposes: it disposes of dirt and recharges the vacuum.
However, if you manually place your Roomba on the dock, the self-emptying feature won’t activate automatically. In this case, you will need to start the waste disposal process manually.
You can trigger the self-emptying in two ways: using the iRobot Home app or directly on the robot. First, make sure the Roomba is properly docked.
To do it through the app, open the iRobot Home app and select your Roomba. You will see an “Empty Button” below the CLEAN button. Tap this button to start the emptying process.
If you prefer to do it manually, simply press the HOME button when the Roomba is on the clean base. If the Roomba is turned off, press the HOME button twice—once to turn it on, and a second time to initiate the self-emptying.
Final Thoughts
If your Roomba isn’t emptying its bin, it could be due to a communication issue between the robot vacuum and its clean base. This problem often arises when dirt and dust build-up on the vacuum’s sensors and parts over time. A quick cleaning of these components should fix the issue and allow your Roomba to properly empty the collected debris.
If cleaning doesn’t resolve the problem, reach out to Roomba’s customer support team. If your vacuum is still under warranty, you may be eligible for a replacement if the unit is found to be faulty.

