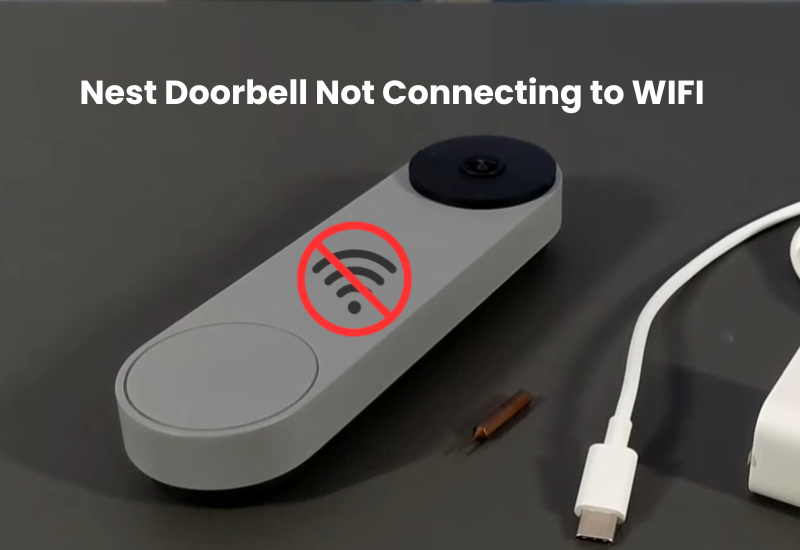
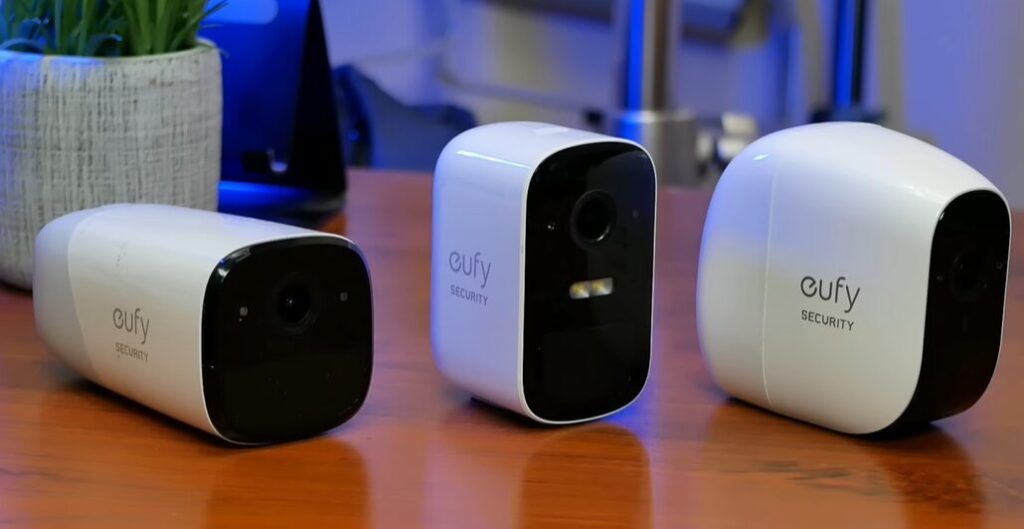
If you’re having trouble connecting your Nest doorbell to your home WiFi, you’re not alone. Many users face this problem, especially when it comes to live video streaming. Fortunately, there are several steps you can take to fix the problem and bring your Nest Doorbell back online.
Start by checking your WiFi network. Make sure your router is turned on and is providing a strong signal to where your doorbell is. If your network is stable, try resetting your doorbell by pressing and holding the reset button on the back of the device for 10 to 15 seconds. This will help it reconnect to your WiFi.
If the problem persists, consider moving your router closer to the doorbell or using a WiFi extender to boost the signal. If none of these solutions work, follow the additional troubleshooting steps below.
Why Is Your Nest Doorbell Not Connecting to WiFi?
Is your Nest Doorbell refusing to connect? This issue is often tied to specific router settings or a VPN interfering with the process. To fix this, ensure you’re using a compatible Wi-Fi network and are within range during setup. Restarting your router can also help by improving signal strength.
Below are some common reasons why a Nest Doorbell might fail to connect, along with solutions you can try:
- Many Nest models outside the U.S. only support 2.4 GHz. Switch to this band if needed.
- Move the router closer or use a signal booster.
- Temporarily disable them during setup.
- Adjust firewalls, MAC filtering, or port settings if they block connections.
- Ensure the doorbell is within your network’s range.
- Enable location and Bluetooth on your phone.
- Confirm the doorbell is in pairing mode (blue light flashing).
- If all else fails, contact support for a replacement.
In the U.S., Nest Doorbells are compatible with 2.4 GHz and 5 GHz Wi-Fi networks. However, network range is critical in ensuring a successful connection.
Always connect your Nest Doorbell to the main router instead of an extender for the best results. Extenders can sometimes cause communication issues.
Compatibility issues with certain routers may arise if you’re using Xfinity or another specific internet provider. Check online forums or community threads for tips from other users who’ve faced similar problems.
Fixing Your Nest Doorbell Not Connecting to WiFi
Sometimes, your doorbell may face connection issues during the initial setup. Other times, it might stop working after being connected due to a router update, changes in network settings, or similar reasons.
If you’re switching to a new Wi-Fi network, the fastest solution is to perform a factory reset on your doorbell. After resetting, remove the device from the Home or Nest app. Then, set it up again as if it’s a new device. This method guarantees a seamless connection to your updated network.
Check Your Nest Doorbell Wi-Fi Connection
To connect your Nest device, ensure you have an active Wi-Fi network. It’s best to use a 2.4 GHz frequency band for the connection.
If your router combines both 5 GHz and 2.4 GHz under one network name (SSID), log into your router’s settings and disable the 5 GHz option. Once your Nest device connects successfully, you can enable the 5 GHz band again.
Alternatively, you can separate the frequency bands into different networks or connect directly to the 2.4 GHz band.
While you’re in the router’s settings, double-check that MAC address filtering is turned off. This feature can block your router from assigning an IP address to your device, which can cause connection issues during setup.
Keep your mobile device connected to the same network you’re using for the Nest device setup. For a smoother setup, consider turning off your cellular data.
If you made changes in your router settings, forget the Wi-Fi network on your mobile device, restart both your router and phone, and then reconnect to the updated network.
Lastly, confirm that your internet connection is working before attempting to reconnect.
Power Cycle Your Device
Power cycling your device is one of the simplest and most effective troubleshooting steps when your Nest Doorbell is not connecting to Wi-Fi. This process involves turning your device off and on again to reset its internal components, which can help resolve minor software glitches or connection issues. Here’s how you can power cycle your Nest Doorbell:
- First, locate the power source for your Nest Doorbell. If it’s wired, you can turn off the power at the breaker box that controls your doorbell circuit. If it’s battery-powered, simply remove the battery from the device.
- After turning off the device, wait for about 30 seconds. This gives the internal system time to fully reset.
- Once the waiting period is over, turn the device back on by reattaching the battery (for battery-powered models) or switching the power back on at the breaker box (for wired models).
- Once the Nest Doorbell powers back up, attempt to reconnect it to your Wi-Fi network. Check if the connection problem is fixed.
Move Your Router Closer to The Doorbell
It’s best to start by setting up your device near the main router before moving it to its final installation spot. This helps ensure a strong signal, making it easier to sync the device with the cloud servers and get it up and running. So, how far away is your device from the router?
When it comes to Wi-Fi, 5 GHz networks offer faster speeds but have a shorter range. On the other hand, 2.4 GHz networks provide slower speeds but cover a larger area. If your device is located 50 feet or more from the router, the 2.4 GHz band is a better choice.
If you’re still having trouble with coverage, consider using a Wi-Fi extender or setting up a mesh network. These options can help extend your network’s range and improve your connection.
Update the Nest Doorbell
To ensure your Nest Doorbell connects properly, it’s important to have the latest software version. If the doorbell hasn’t updated automatically, follow these steps to manually check for updates:
- Open the Google Home app.
- Select your Nest Doorbell from the device list.
- Tap the Settings icon.
- Look for any available software updates and follow the prompts to install them.
Updating the doorbell can resolve bugs and improve performance, ensuring it connects smoothly to Wi-Fi.
Reset the Nest Doorbell
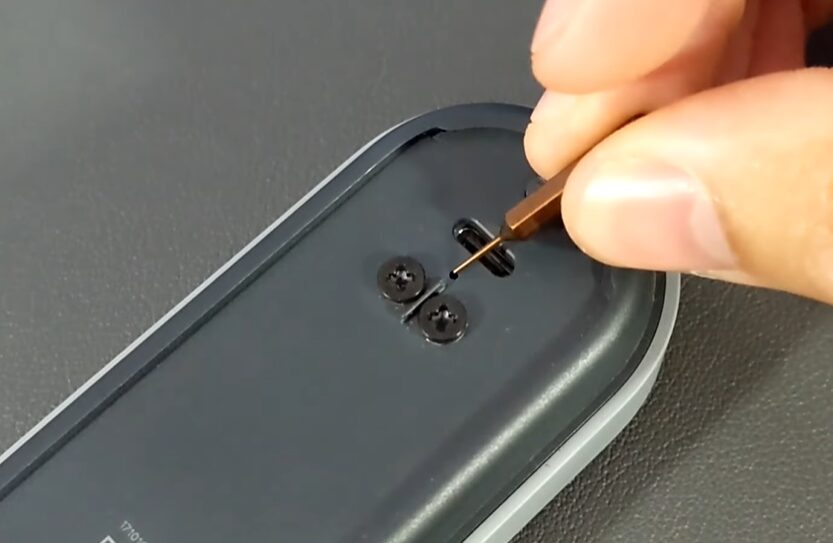
If your Nest doorbell isn’t working as expected, a factory reset can help. This process removes any corrupt firmware or incomplete upgrades and restores the device to its original settings. After resetting, you’ll need to add the device back to the Home app.
Before you reset, make sure to back up any important video clips, as they may be lost during the process.
Here’s how to factory reset your Nest doorbell:
For Nest Battery-Powered Doorbell:
- Use the removal tool to detach it from the wall.
- Connect the doorbell to a charger.
- On the back of the doorbell, locate the small pinhole below the charging port.
- Insert a paperclip into the pinhole and press and hold the reset button for 15 seconds. You should hear a ding tone, signaling the reset countdown. Release the button 3 seconds after the sound.
- Wait for the doorbell to reset and restart.
For Nest Wired Doorbell (2nd Generation):
- Take the doorbell off its mounting plate and turn it over.
- Insert a paperclip into the reset pinhole and hold it down for 15 seconds. A ding tone will sound, indicating the reset countdown. Release the button 3 seconds after hearing the tone.
- The doorbell will reset and reboot.
- If the doorbell was connected to the app, go to the Home app, select the offline device, tap the settings icon, and choose Remove Device. Confirm the action.
- Add the doorbell to the app as a new device, then update to the latest firmware.
If you’re having trouble reconnecting, such as the device getting stuck on the QR code scan or Wi-Fi connection, try disconnecting the wires for 1–3 minutes and then attempt the process again.
Final Thoughts
If your Nest Doorbell isn’t connecting to Wi-Fi, it can be frustrating. But don’t worry, there are easy steps you can follow to fix the problem.
First, check your router settings. Make sure you’re using the right frequency band (2.4GHz or 5GHz) that your Nest Doorbell supports. Next, turn off MAC address filtering if it’s enabled, as it can sometimes block the connection. Also, verify that you have the correct Wi-Fi security settings—ensure your encryption is set to WPA2.
By doing so, you’ll improve the chances of establishing a strong and reliable connection between your Nest Doorbell and Wi-Fi.

