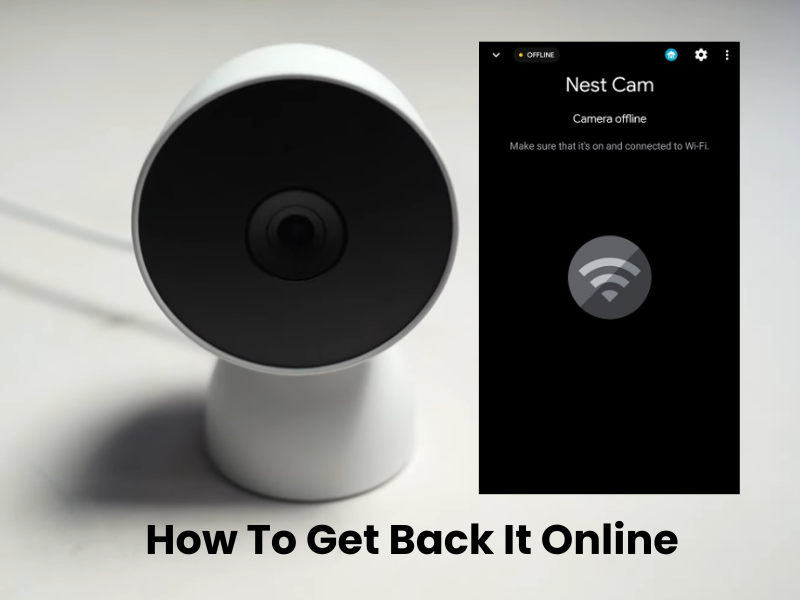
Are you frustrated that your Google Next camera suddenly went offline many people have faced this problem so you are not alone.
We will walk you through the vital troubleshooting steps, from checking your router’s settings to ensuring your Nest camera is working appropriately. So each step will help you get your camera back up and running smoothly.
In this article, we will discuss some of the reasons why your Google Nest cameras may go offline and provide effective solutions to bring your disconnected issues back online.
Why Does Your Nest Camera Go Offline?
A Nest camera often goes offline when it loses its Wi-Fi connection. This can happen due to a network drop or a power outage. When this occurs, the app will show the camera as offline, and the status LED will not be a solid green. To resolve this, try power cycling your camera and network devices to reset and reconnect everything.
Google Nest cameras use different LED colors to indicate their status. Take a moment to check the LED color on your camera and find out what it means.
If your camera goes offline, start by checking the LED light and look up its meaning.
If there are no lights and the LED indicator isn’t turned off in the app or by settings like schedules, you may be dealing with a power issue or a faulty device.
Check Your Wi-Fi Connection
To keep your Nest camera working properly, you need a strong internet connection. Here’s how you can ensure everything runs smoothly:
Ensure your network is stable and has sufficient bandwidth. If you’re having issues, contact your Internet Service Provider (ISP) to restore your connection. Afterward, power cycle your cameras—turn them off, wait a moment, and then turn them back on.
Temporarily disconnect other devices from your network to boost bandwidth for your Nest camera.
If you change your network settings, like your Wi-Fi password or security type, update these details on your Nest camera. Remove the device from the app if needed, reset it, and reconnect it to your updated network.
Confirm that your Nest camera is compatible with your network. Older Nest cameras may only work with 2.4 GHz networks, while newer models support 5 GHz as well.
If your router broadcasts both 2.4 GHz and 5 GHz on a single SSID, split them into separate networks. This helps prevent connectivity issues by ensuring your camera connects to the correct frequency.
In your router’s admin panel, check that no firewall or port-blocking settings are interfering with your camera. Disable MAC address filtering if it’s enabled, as this can prevent your camera from connecting.
Power Cycling Your Camera and Router
If your camera is offline, a simple restart might be the solution. Power cycling, or rebooting, can help fix issues with electronic devices, especially those connected to a wired power source.
Before you start power cycling, make sure your camera is getting power. Check the power cable for any damage and ensure the outlet is working properly.
For cameras running on battery, check the battery level in the Nest or Home app. If the battery is low, charge the camera for about 5 hours until it reaches full capacity. A fully charged camera will show a solid white LED light.
Power cycling helps clear temporary errors or corrupted files that might be stopping your camera from connecting. To do this, power cycle both your camera and your network router, then refresh the Nest or Home app to reset your network and device connection.
Unplug your router first and wait for 20 to 30 seconds before plugging it back in. Afterward, unplug your camera, wait the same amount of time, and reconnect it. Finally, refresh the app to complete the process.
Update the Firmware
Updating the firmware on your Nest camera can help fix connectivity issues like going offline. Here’s how to do it:
- Log in and select the camera experiencing issues.
- Go to the camera’s settings and look for available firmware updates.
- Follow the on-screen instructions to update the firmware. Ensure the camera stays connected to power and Wi-Fi.
- The update may take a few minutes. The camera might restart during this time.
- Once the update finishes, confirm the camera is back online by checking the live feed.
Updating the firmware regularly helps keep your camera stable and reduces the chances of it going offline.
Move Your Camera Closer
Your camera supports live streaming and video uploads, it must be installed in a location with a strong and stable internet signal.
Start by checking if your camera’s position receives a solid connection from your router. If not, try moving the camera closer to the router. Often, just shifting the camera a foot or two can improve the signal, especially if a wall is blocking the connection. Find the optimal spot where the signal is strongest for your camera.
If relocating the camera doesn’t solve the problem, consider enhancing your network. Upgrading to a mesh network or adding a Wi-Fi extender can extend your network’s reach and improve signal strength.
For outdoor cameras, make sure the installation point also receives a strong signal to keep the camera online and functioning properly.
Reconnect Your Nest Camera
Reconnecting your camera can often fix connectivity problems by reinitializing the server connection and bringing your camera back online.
Before reconnecting, ensure your network is working properly, there are no power issues, and the camera is in an ideal location. If everything checks out, follow these steps on the Nest app to reconnect your camera:
- Start by launching the Nest app on your device.
- Choose the camera you need to reconnect.
- Scan the setup code or enter it manually if needed.
- Input your network information to reconnect.
- Let the app add your camera to your account.
- Adjust any settings as required.
Reconnecting your camera should bring it online, but if the issue persists, it might indicate an unresolved problem. Once your camera is reconnected, you should be able to view a live feed, confirming that it’s back online.
Reset Your Nest Camera

Factory resetting your camera wipes all configurations and returns it to default settings. Before you start, make sure to back up any important clips.
To perform a complete reset, you need to remove the camera from the app first. This process disassociates the camera from your account and ensures that no residual data is left behind.
Here’s how to delete your camera from the app:
- Open the Nest or Home app.
- Find and select the offline camera from your home screen.
- Tap the settings icon (usually a gear).
- Scroll down to “Remove Device” under camera settings and select it.
Next, to reset your camera:
- Locate the reset button. This could be on the front or underneath the camera, depending on the model.
- Press and hold the button with a paper clip for 10 to 15 seconds.
The camera will then reset and reboot. Watch the LED indicator to confirm it’s in pairing mode. Once the reset is complete and the camera is ready, reconnect it to the app and update it to the latest firmware.
Final Thoughts
If your Nest camera is offline, you’re not alone. Start by checking the LED indicator to identify the issue. Power cycle your camera and router to fix temporary problems. Ensure your camera is properly plugged in and close to the router for a strong signal.
Check your Wi-Fi connection and update the camera’s firmware regularly. Reconnect your camera using the Nest app if needed. If these steps don’t work, a factory reset might be necessary to restore your camera to default settings.

