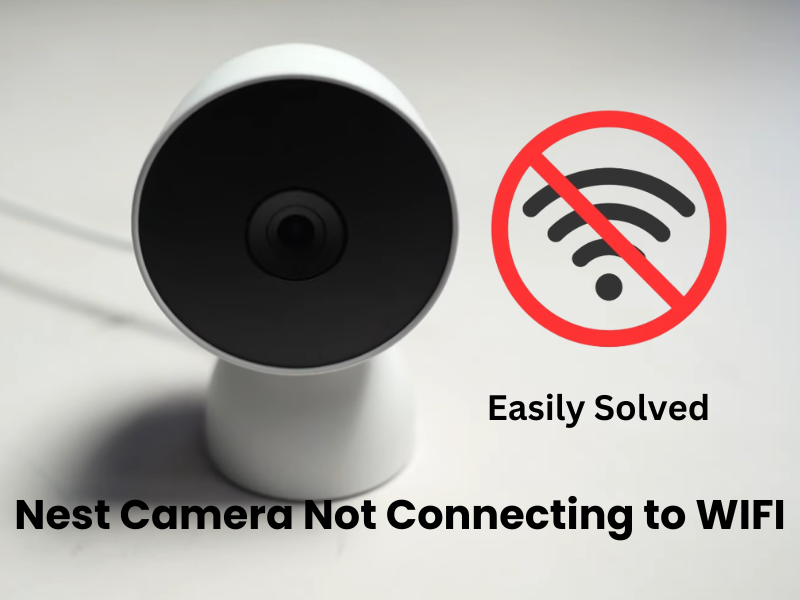
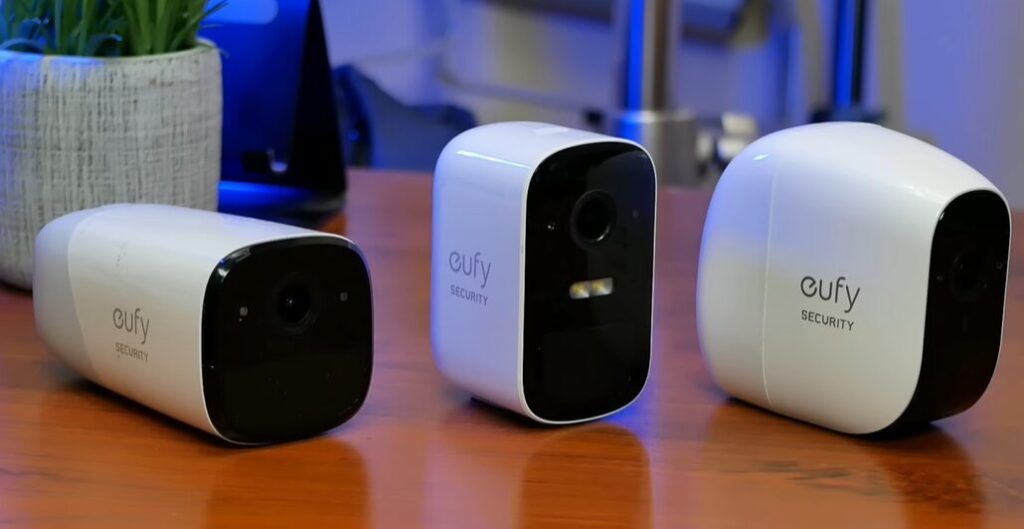
If your Nest camera won’t connect to WiFi, several common issues can cause this issue. A major problem on your device may be that your device is connected to a 5 GHz network or has a VPN enabled. Additionally, your camera may be too far from your router.
Make sure you are using a compatible 2.4 GHz network to fix this issue. This will effectively make it easy to connect your home camera to the internet.
As you set up your camera and network, follow a few simple steps to identify and troubleshoot connectivity issues.
In this article, we will show you some solutions to your camera problems so that your camera starts working smoothly again.
How Do I Fix Nest Camera Not Connecting to WIFI
Nest cameras are designed to work with 2.4 GHz networks, though some newer models can connect to 5 GHz networks based on your location.
In Canada and Europe, Nest cameras are classified as outdoor Wi-Fi devices and will only connect to 2.4 GHz networks.
For the best results, regardless of your location, it’s advisable to use a 2.4 GHz network. It generally offers better reliability and a longer range.
Several factors can impact the setup process of your smart camera. Here are some common issues you might encounter:
- Many Nest cameras are only compatible with 2.4 GHz Wi-Fi networks, not 5 GHz.
- A weak signal can prevent your camera from registering and initializing properly.
- Using a VPN or an ad-blocker on your mobile device may mask your IP address and block communication with your camera.
- Settings like MAC address filtering, firewall configurations, or port blocking can interfere with camera setup.
- Ensure your camera is within the range of your network.
- Make sure you’ve granted the necessary location or Bluetooth permissions for the Nest or Google Home apps.
- Your camera needs to be in pairing mode, indicated by a rapidly flashing light.
Make sure to enable permissions for the Nest or Google Home apps on your device.
For setting up a Bluetooth device, activate Bluetooth on your mobile device and stay close to the camera to maintain a strong signal.
Check The Nest Camera Network Connection
To set up your Nest camera, you need a working Wi-Fi network, ideally on the 2.4 GHz frequency band.
First, make sure your router is broadcasting on 2.4 GHz. If your router combines 2.4 GHz and 5 GHz into one network name (SSID), turn off the 5 GHz band in your router’s settings. After your camera connects, you can turn the 5 GHz band back on.
Alternatively, you can either separate the 2.4 GHz and 5 GHz frequencies into different network names or ensure that your Nest camera supports the 5 GHz band.
Check your router settings to ensure MAC address filtering is disabled. This feature can block your router from assigning IP addresses to unfamiliar devices, causing connection issues during setup.
Make sure your Wi-Fi security encryption is set to “WPA/WPA2.” Newer encryption methods like WPA3 can sometimes cause problems with smart home devices.
Connect your mobile device to the same network where you want to add the camera. For a smoother setup, you might want to turn off your cellular data.
After making changes in the router’s admin portal, forget the Wi-Fi network on your mobile device, restart both your mobile device and the router, and then reconnect to the updated network.
Before reconnecting your camera, check that your internet connection is working properly. Then, try setting up your camera again.
Power Cycle Your Router and Camera
If you’re having trouble with your Nest Camera’s connection, a simple fix might just do the trick. Try power cycling your router. This means unplugging it, waiting for about a minute, and then plugging it back in. This quick refresh can often resolve glitches and software issues that disrupt the connection.
Don’t forget to do the same with your Nest Camera. For wired models, unplug the camera from its power source, wait a minute, and then plug it back in. If you’re still experiencing trouble, don’t worry—there are more troubleshooting steps ahead to help you out.
Move the Camera Closer to the Router
When you move farther from your main router or add more obstacles, the signal strength decreases.
It’s best to set up your camera close to the router initially. This ensures the camera gets a strong signal during setup, so it can register with your account and communicate effectively with the cloud servers.
To prevent connection issues, make sure the final installation spot for your indoor or outdoor cameras has a strong network signal.
If you want a strong network, consider moving up to a mesh network system or installing a Wi-Fi extender.
Update the Firmware
Firmware updates are essential for maintaining your Nest Camera’s performance and ensuring it stays compatible with your Wi-Fi network. Outdated firmware can lead to connectivity issues. Here’s how to update it:
- Open the Nest app, go to your camera’s settings, and see if a firmware update is available.
- Follow the app’s instructions to install the update. Ensure a stable Wi-Fi connection during this process.
- Unplug the camera for 10 seconds after the update, then plug it back in to refresh the connection.
- Confirm the firmware update in the app and test the camera’s Wi-Fi connection to ensure everything is working correctly.
Factory Reset Your Nest Camera
Factory resetting your camera will erase all your settings and restore it to its original state. This means the firmware will revert to the default version it had when it left the factory.
If your device is already linked to the Nest or Home app, remove it before resetting. For brand-new cameras, you can skip this step and go straight to the reset.
To remove a camera from the Nest or Home app, follow these steps:
- Open the app and locate the camera on your home screen.
- Tap the settings icon (cog) for that camera.
- Scroll down in the camera settings and select “Remove Device.”
To reset your camera:
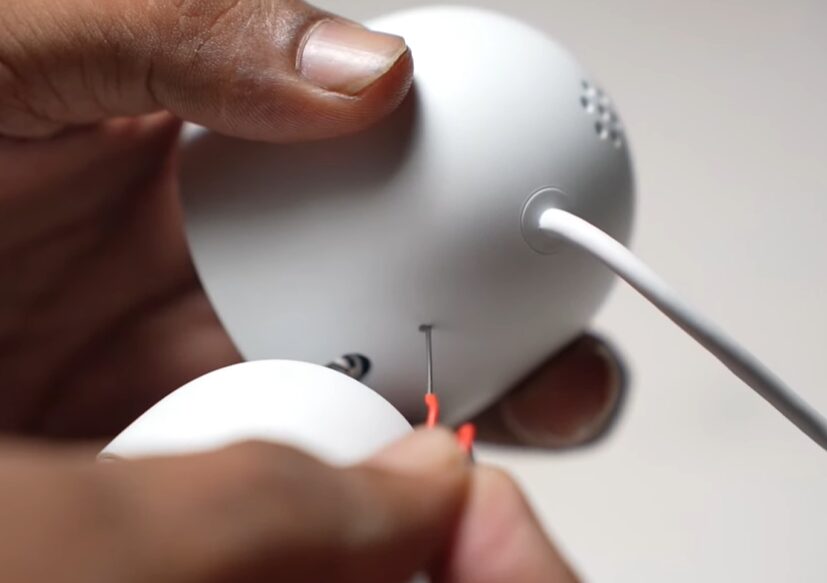
- Locate the reset button on the camera—this might be on the front or underneath, depending on the model.
- Press and hold the button with a paper clip for 10 to 15 seconds.
After the reset, the camera will reboot and enter pairing mode, indicated by a flashing blue status light. Now you can pair it with the app again.
Faulty Nest Camera Hotspot
Identifying a defective device can take some time, as you’ll need to perform several tests to be certain.
I’ve had smart devices that simply wouldn’t broadcast their network, no matter what I tried. At last, I presumed that the gadget was faulty and decided to return it to the store for a replacement.
The new device connected to my network effortlessly, without any issues.
So, if you’re unable to find your Nest camera’s hotspot, first check for any Wi-Fi interferences and make sure to disable your VPN or AdGuard.
If the hotspot still doesn’t appear, the unit is likely defective. In this case, reach out to Nest customer support for assistance or consider returning the unit for a replacement.
Final Thoughts
If your Nest Camera isn’t connecting to Wi-Fi, start by using a 2.4 GHz network for better reliability. Check your router settings and ensure features like MAC address filtering aren’t blocking the connection.
Power cycle both your router and camera and position the camera close to the router during setup. Keep the camera’s firmware updated to avoid compatibility issues. If problems persist, try a factory reset or contact Nest support for a replacement.

