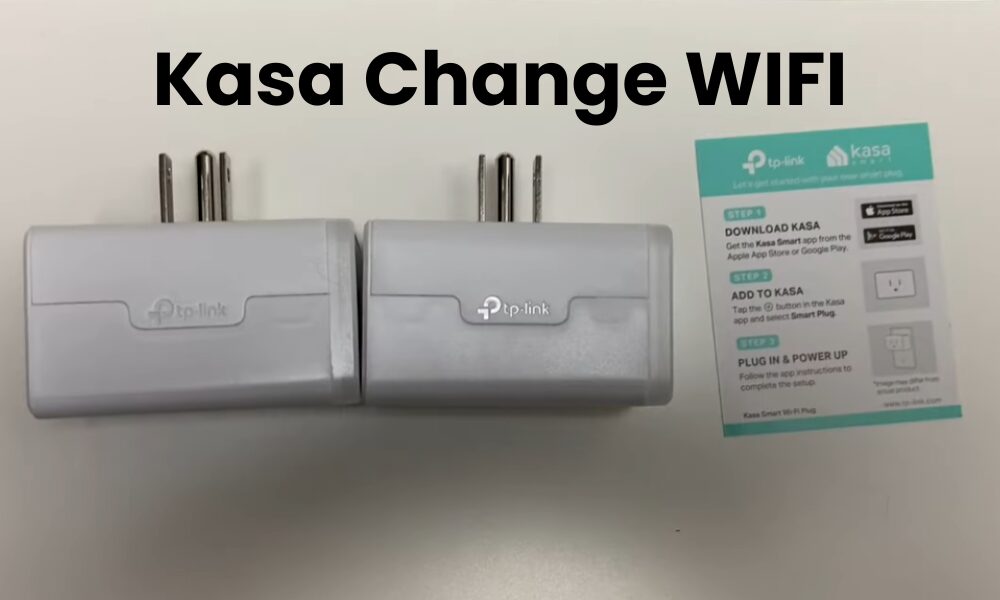
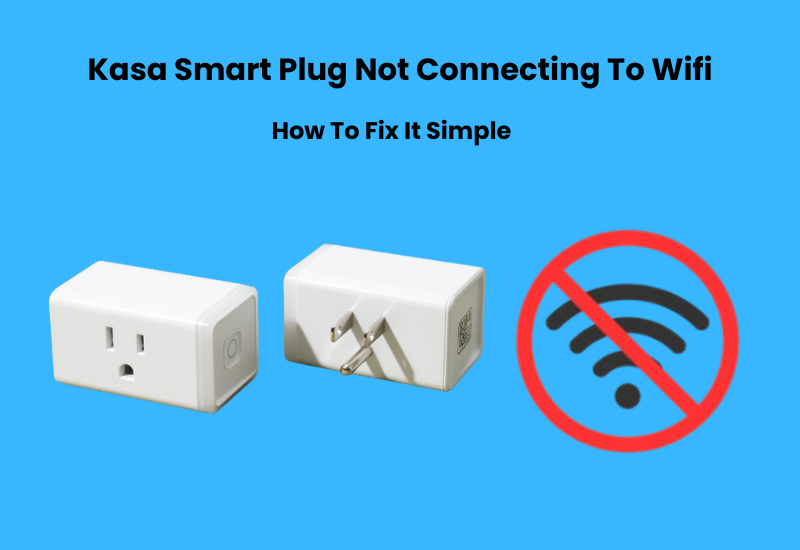
Need help switching wifi networks on your Kasa smart plug? You are at the right place to solve your problem. This guide will guide you through every step of the process.
You cannot change the WiFi network directly through the app or on the device as you need to reset the device to its factory settings to connect to a new WiFi network on your Kasa smart plug. You can then set it again and link it to the new WiFi.
In this guide, I explain how to reset your Kasa smart plug and guide you to connect it to a new wifi network so let’s get started.
How to Change Wi-Fi Network for Kasa Devices
To change the Wi-Fi network on your Kasa device, you have a few options. One way is to reset the device manually or remove it from the Kasa app. This will erase the previous Wi-Fi settings. After the reset, you’ll need to set up the device on the new Wi-Fi network using the Kasa app, just like you did when you first got it.
This method allows you to switch to a different Wi-Fi network. However, keep in mind that removing the device from the app will reset it to factory settings. This means you’ll lose any configurations you had before.
Another option is to set up your new router with the same network name (SSID) and password as the old one. This can keep your device’s settings and app configuration intact. But, this method can be unreliable and may not always work smoothly.
These steps apply to all Kasa devices, like cameras, plugs, switches, and bulbs. After resetting the device, connecting it to the new network should be simple.
Connecting Kasa Devices to a New Router
To successfully set up your new router, start by matching the wireless settings with those from your old router. This means using the same wireless network name (SSID), encryption type, and password on the new router.
The goal here is to make your new network look just like the old one so that your devices can connect without any issues.
Keep in mind that Kasa devices work only on 2.4 GHz Wi-Fi. If your new router has both 2.4 GHz and 5 GHz bands, it’s best to disable the 5 GHz band while setting things up. Alternatively, you can set up separate networks for each band, ensuring each has its own SSID and password.
After you’ve configured the new network, try connecting your mobile device. Select the new Wi-Fi network and enter the password, which should be the same as the one you used before.
In an ideal situation, your mobile device will connect automatically to the new network.
Once your mobile device is connected, power on your Kasa device. If it doesn’t connect automatically, open the app to reconnect it.
This approach allows for a smooth transition to the new network. Your devices should continue to work as if nothing has changed. However, be aware that some devices may still have trouble recognizing the new network, leading to potential connection issues.
Reset the Kasa Device
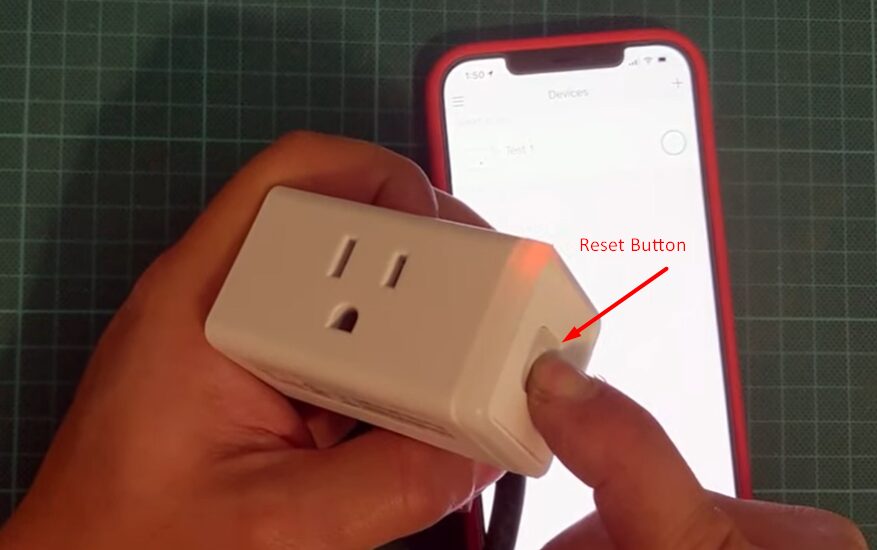
Before you can connect to the new Wi-Fi, you must reset the Kasa device to its factory settings. The method may vary slightly depending on the device, but most Kasa devices follow similar steps:
- Turn off the device.
- Press and hold the reset button on the device for about 5 to 10 seconds until the LED light blinks rapidly. This indicates the device is ready to pair with a new network.
For Kasa plugs and switches, the reset button is usually on the side. For Kasa cameras, you’ll find it at the bottom or back of the device.
Reconnect the Device to New Wi-Fi
Once you’ve reset the device, you can proceed to connect it to your new Wi-Fi network using the Kasa app:
- Open the Kasa Smart app on your smart mobile phone.
- Log in to your Kasa account if you’re not already logged in.
- Tap the ‘+’ icon at the top of the screen and select ‘Add Device’.
- Choose the type of device you want to reconnect (plug, camera, bulb, etc.).
- Follow the on-screen instructions to put the device in pairing mode.
- The app will prompt you to choose your new Wi-Fi network. Enter the new Wi-Fi name and password.
- Allow the app to finish the setup process. The device should reconnect to your new Wi-Fi.
How to Connect Your Kasa Device to Wi-Fi
Connecting your Kasa device to your home Wi-Fi network is simple. Follow these easy steps to get started.
First, download the Kasa app on your smartphone. It’s available for both Android and iOS. After downloading, register and verify your account to set everything up.
Next, make sure your Kasa device is connected to the 2.4 GHz Wi-Fi network. If your router uses both 5 GHz and 2.4 GHz bands under the same SSID, it’s best to turn off the 5 GHz option for this step.
To ensure your device connects quickly, disable any VPN or Adblocker software on your mobile device. This helps the app discover your new Kasa device on your network without issues.
Don’t forget to turn on your device’s location services. Grant permission for the Kasa app to discover devices nearby.
Now, it’s time to add your Kasa device:
- Launch the app on your smartphone.
- Tap the “+” Icon
- Choose the category that matches your device.
- Identify your device using the model number. Ensure it is powered on and in pairing mode.
- The app will prompt you to connect to your device’s network before linking it to your home Wi-Fi.
- Select the 2.4 GHz network and enter your password.
- Give your device a name and tap “Next.”
- You can choose an icon for your device or keep the default. Then, hit “Save.”
- Tap the “Sounds Good” button to complete the setup. You can now access your device from the home screen.
Your Kasa device is now connected to your new home network. For added convenience, link it to Alexa or your favorite virtual assistant to enjoy voice control features.
Final Thoughts
Dealing with WiFi issues on your Casa device can be easy if you follow the right steps. First, you need to focus on using the 2.4 GHz frequency and this Casa device is good for long-range connections and is often more stable than 5 GHz.
Next, make sure to use the reset effectively as restarting your device can help clear up any minor issues that might be causing connection issues.
Finally, check if your Kasa app is updated and regular updates ensure that your device has the latest features and fixes that can improve performance.

