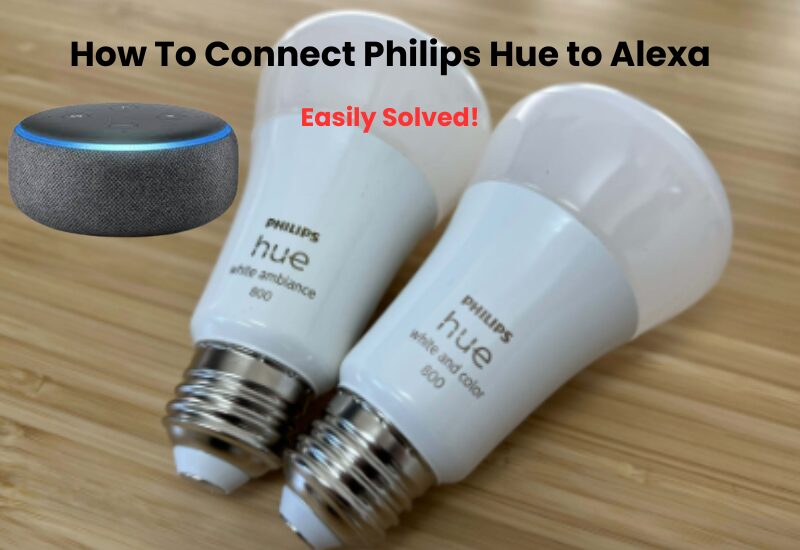
Are you looking to connect your Philips Hue bulbs to Alexa? If you already have both a Philips Hue bulb and an Alexa device, you can easily connect them without using the Philips Bridge. You can connect to Alexa devices without a Hue bridge.
Connecting your Hue bulbs to Alexa is easy. First, you need to make sure you have a compatible Echo device or a third-party hub. Then open the Alexa app, tap “Add Device” and follow the on-screen instructions to link your bulb. Once connected, you can control your room’s lights with simple voice commands through Alexa.
In this guide, I will show you the best way to connect your Philips Hue bulbs to Alexa without the need for a bridge, so we should begin and make your smart lighting setup more proficient.
How To Connect Philips Hue to Alexa Troubleshooting Guide
To connect your Philips Hue lights to Alexa, start by making sure your mobile device and the Hue Bridge are on the same Wi-Fi network. If you have a VPN running on your phone, turn it off to make the connection easier. Next, you’ll need to add the Hue skill to the Alexa app.
Here’s how to get your Philips Hue lights working with Alexa:
- Launch the Alexa app on your mobile device.
- Tap the “More” icon located at the bottom left of the screen.
- From the menu, select “Skills & Games.”
- Tap the search icon under “Discover Alexa” and type in “Philips Hue.”
- When the Philips Hue skill appears in the search results, click on it to proceed. Then, select “Enable to Use.”
- You’ll be prompted to log in to your Hue account. Enter your credentials to sign in.
- After signing in, tap “Discover Devices” on the pop-up screen. Alexa will take a moment to find and add your Hue lights. Once done, tap the “back arrow” to return to the main screen.
After your Hue lights are added to Alexa, you can control them with voice commands. For instance, say, “Alexa, turn on all the lights” to switch on all connected bulbs. To turn off the lights, just say, “Alexa, turn off all the lights.”
Using the Hue Bridge with Alexa allows you to control up to 50 lights, offering full functionality. However, you can still connect your Hue lights to Alexa without the Hue Bridge if you prefer.
How To Set Up Your Philips Hue Lights
Setting up your Philips Hue lights is a straightforward process, but sometimes issues can arise. Here’s a detailed guide to help you troubleshoot common problems during the setup of your Philips Hue lights.
- Place Philips Hue bulbs into fixtures and turn on the power.
- Plug the Hue Bridge into power and connect it to your router with the Ethernet cable.
- Wait for the Hue Bridge lights to stabilize.
- Get the Philips Hue app from the App Store or Google Play.
- Open the app, create or log into your account, and follow the prompts to connect the Hue Bridge.
- The app will guide you to find and connect your lights.
- Set up light groups (e.g., living room) in the app for easy control.
- Check light functionality and update firmware if needed.
How to Connect Your Philips Hue Lights to Alexa Without a Bridge?
To connect your Philips Hue bulbs to Alexa without using a bridge, you’ll need Bluetooth-enabled smart bulbs and an Alexa-compatible device. Keep in mind that while Bluetooth allows for easy setup, it limits you to connecting a maximum of 10 bulbs and does not offer remote control features.
Here’s a step-by-step guide to link your Hue bulbs with Alexa using an Echo device:
- Ensure Setup: First, make sure your Philips Hue bulbs are plugged in and switched on. Verify that your Echo device is properly set up and connected.
- Open the Alexa App: Launch the Alexa app on your smartphone or tablet.
- Add Device: Press on the “Devices” tab at the bottom of the screen. Then, press the “+” icon at the top right corner and select “Add Device.”
- Discover Devices: The Alexa app will search for available devices. It should automatically detect your Hue bulbs.
Alternatively, you can use voice commands to connect your bulbs. Ensure your Echo device is updated to the latest software version. You can check this by asking, “Alexa, is your software up to date?” If your software is current, say, “Alexa, discover devices.” Alexa will then find your Hue lights, and you can start using various commands to control them.
If you have an Echo device with a built-in hub, like the Echo Plus, you can connect your Philips Hue lights directly through it, offering more seamless integration.
How To Control Philips Hue Lights with Alexa?
With Alexa voice control, managing your Philips Hue lights becomes a breeze. You can effortlessly turn your bulbs on or off, depending on whether you need light or darkness. If you prefer, you can also dim the lights to your liking. Want to set the perfect mood for a movie or find the right lighting for reading? Simply ask Alexa to “dim the light in the bedroom” or “dim the light in the living room,” and you’re good to go.
For those who love a bit of flair in their living space, Alexa can also bring your favorite scenes and colors to life. Simply ask Alexa to activate the scenes you prefer, and watch your room dazzle.
To get started, you’ll need an Amazon Echo, Echo Tap, or Echo Dot, along with a Philips Hue starter kit. The starter kit includes a bridge and your Hue light bulbs. Screw the bulbs into your existing sockets, power up the bridge, and connect it through the Alexa app.
But that’s not all the Alexa app can do. Besides controlling your Hue lights, it can also handle other tasks. For example, it can email you your shopping list or help you find your misplaced phone by ringing it. Just ask Alexa to “find my phone,” and the ringtone you’ve set will start ringing.
Final Thoughts
Connecting your Philips Hue bulbs to Alexa is simple, even if you don’t have a bridge. You have a few different options to make this happen. You can use the Alexa app, the Philips Hue Bluetooth app, the Hue dimmer switch, or just ask Alexa directly. To make sure the setup goes smoothly, avoid common mistakes.
Keep your Philips Hue bulb close to your Echo device. Make sure you reset the bulb correctly and check for any available firmware updates. Follow these steps carefully, avoid common errors, and you’ll have your Philips Hue bulbs linked to Alexa effortlessly, without needing a bridge. Enjoy the ease and convenience of your smart home!
Frequently Asked Questions:
How do I control Hue sync with Alexa?
To control Hue Sync with Alexa, follow these steps:
- Ensure you have the Philips Hue Sync app installed and configured on your computer. This app syncs your Hue lights with your media.
- Ensure your Hue Sync app is connected to your Philips Hue Bridge and that your lights are synced as desired.
- In the Amazon Alexa app, go to “Skills & Games,” search for “Hue Sync,” and enable the skill.
- Follow the prompts to link your Philips Hue account with the Hue Sync skill.
- You can now use voice commands to control your Hue Sync settings. For example, say “Alexa, start Hue Sync” or “Alexa, set Hue Sync to movie mode.”
Controlling Hue Sync through Alexa allows you to adjust lighting scenes based on your activities, such as watching TV or listening to music.
How to put Philips Hue in pairing mode?
To put your Philips Hue lights into pairing mode, follow these steps:
- For most Philips Hue bulbs, turn the light switch off and then on three times quickly. This resets the bulb and puts it into pairing mode.
- Open the Philips Hue app and go to “Settings” > “Light setup” > “Add light.” Follow the on-screen instructions to search for and add the bulb to your system.
- The light should blink or flash to indicate that it is in pairing mode and ready to connect with the Hue Bridge.

