Looking to keep your home secure with a Nest Camera? You’ve come to the right place! This easy-to-follow guide will walk you through the steps to connect your Nest Camera to your WiFi and start monitoring your home right away.
We’ll cover everything from downloading and setting up the Nest app to plugging in your camera and connecting it to your WiFi.
We will explore a few additional features in the Nest app and share troubleshooting tips to ensure everything moves along as expected.
By the time you finish this guide, you’ll be all setup and ready to securely monitor your home from anywhere.
How to Connect Your Nest Camera to Wi-Fi?
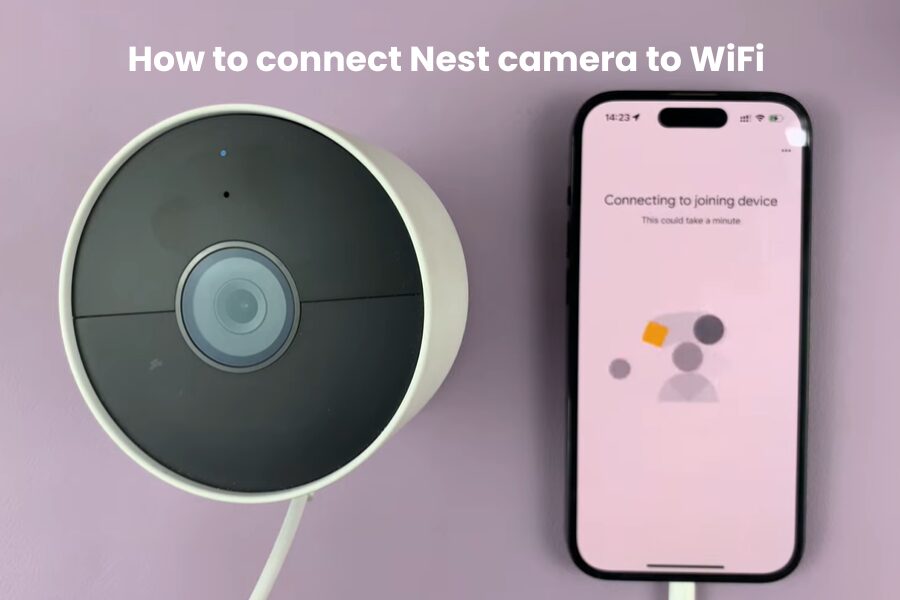
Make sure the Nest or Home app is installed on your smartphone to set up your Nest camera. Keep your camera within Wi-Fi range and follow the in-app instructions to add it. Make sure to allow necessary permissions for smooth setup.
Perform a factory reset on the camera to remove previous Wi-Fi settings. Once connected to the new network, update the firmware.
- 2.4 GHz Wi-Fi: Nest cameras work best with 2.4 GHz for a wider range. If your router combines 2.4 and 5 GHz, separate them or temporarily disable the 5 GHz band.
- Wi-Fi Security: Ensure your network uses WPA/WPA2-PSK encryption.
- Disable VPN & Ad Blockers: Turn off VPN or ad-blocking apps on your phone during setup.
- Stay Close to Router: Initially place the camera near your router. Move it after the setup is complete.
- Same Network: Connect your phone to the same 2.4 GHz Wi-Fi as the camera. Disable mobile data for a seamless connection.
Nest supports both 2.4 and 5 GHz, but 2.4 GHz offers a better range for outdoor models. Enable Bluetooth and Location Services on your phone, as these are essential for device detection.
How To Change Nest Camera Wi-Fi Network
If you need to change your Nest camera to a different network, follow these steps: factory reset the camera, remove it from the app, and set it up again as a new device.
This situation often happens when you move to a new location, change your Wi-Fi SSID, or upgrade your network. These changes may cause your camera to disconnect and go offline.
By performing a factory reset, you’ll remove all previous settings and reset the camera to pairing mode. Be sure to back up any important video clips from your history before resetting.
Here’s how to factory reset your Nest camera:
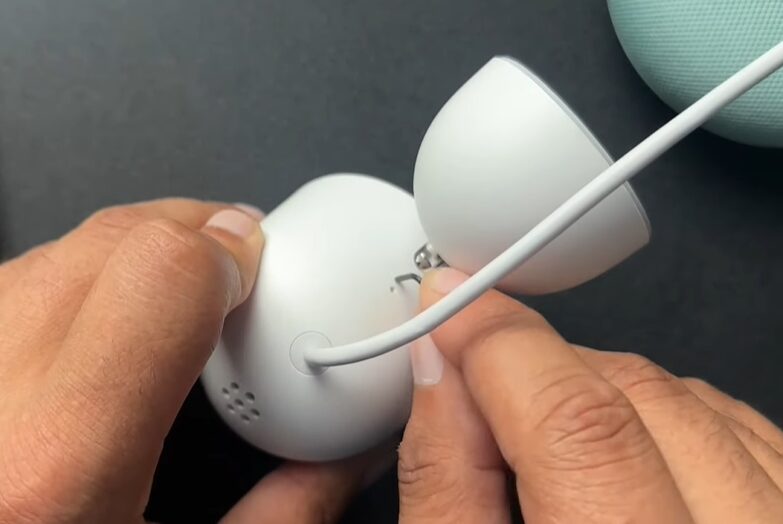
- Remove the camera from its magnetic mount.
- Locate the reset button – it’s either on the front or the back, depending on your model.
- Press and hold the button using a paper clip for about 10-15 seconds. Keep holding it through the jingle and release it when the sound stops.
- When the front light turns off, plug the camera back in to charge. Be careful not to let the battery die during the reset, as this can damage the device.
- After a short while, the camera will make another jingle. The status light will begin flashing blue, signaling that the camera is now in setup mode.
- Remove the camera from the Home or Nest app, then reconnect it.
Alternatively, if you prefer, you can set up the new network with the same configurations as the old one. This includes using the same Wi-Fi name (SSID), password, and encryption type. While this might offer a smoother transition, it’s not without risks and could lead to errors if done incorrectly.
How to Set Up Your Nest Camera Without a Factory Reset
Setting up your Nest camera is easy and doesn’t require a factory reset for a new device. Just download the Google Home or Nest app on your phone and set up your account.
Next, connect your camera through the Google Home app. This setup works for the following Nest models:
- Nest Cam (Outdoor or Indoor, Battery)
- Nest Cam with Floodlight
- Nest Cam (Indoor, Wired – 2nd Generation)
Here’s how to set it up:
- Tap on the Devices icon at the bottom and then select Add.
- In the setup window, select New Device.
- Select the “Home” where you want to add the camera, or create a new one. Tap Next.
- The app will ask for Bluetooth access and try to detect your device. Although it won’t immediately find your camera, it will show a “What are you setting up?” window. Tap it.
- Choose your Nest camera model from the list.
- You can either scan the QR code on your camera or enter the setup code manually. If scanning doesn’t work, tap Continue without scanning and input the 6-digit code found above the charging cable. Tap Next.
- Select the image of the camera you’re setting up and tap Next.
- Tap Continue and accept the terms and conditions. Then, go through the setup to select the camera’s location (indoor or outdoor) and tap Next.
- Choose your 2.4 GHz Wi-Fi network, enter the correct password, and tap Next. The camera will chime when it connects to your network.
- Choose the room where your camera is placed, then tap Next.
- The app will guide you through final preferences and customizations. You can skip through or enable the settings you prefer.
- Once you’re done, tap Done to complete the setup. You can now access your camera from the home screen.
How to Set Up Your Nest Camera Using the Nest App
Here’s how to connect your Nest camera to your network using the Nest app in a few simple steps. This process applies to all models of the Nest Cam IQ Indoor & Outdoor, Nest Cam Indoor & Outdoor, and Nest Dropcam.
- Start by downloading the Nest app from your device’s app store. Once installed, create an account and log in. You can either set up a new home or keep the default option.
- Launch the Nest app on your phone.
- Tap the settings icon in the top-right corner of the app’s home screen.
- Select the option to add a new device to your account.
- Look for the QR code on the back of your camera. Use the app to scan it. If you prefer, you can manually enter the numbers found at the top of the QR code instead.
- The app will guide you through the rest of the installation and setup process to get your camera connected.
Final Thoughts
Your Nest camera is more than just a device – it’s a reliable guardian, always on alert and customized to fit your home. From the moment you power it on to the easy setup process, you’ll experience not just top-notch performance, but a deeper connection to your space.
Enjoy the peace of mind that comes with a surveillance system designed around your needs. As updates roll out, be sure to refresh the firmware to unlock your camera’s full potential. Your Nest camera isn’t just about security – it’s a testament to your commitment to a smarter, safer home.

