Acts as a single hub to seamlessly integrate hue bulbs into your smart home setup. When connected to your internet it provides a whole new level of control and organization for your home lighting.
Currently, your Hue bridge can handle up to 50 bulbs and accessories. This makes it a versatile addition to any smartphone. For me the Philips hue bridge has been essential to creating a fully connected smart home experience.
So, how do you connect your Hue Bridge to WiFi?
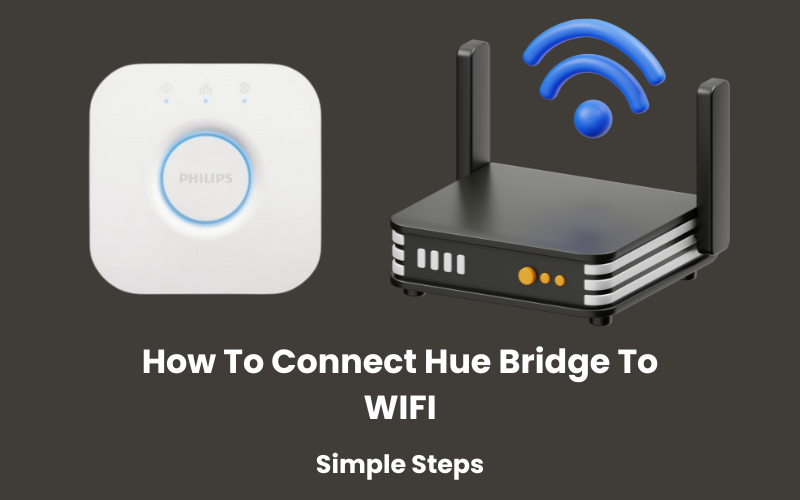
By now you probably know that the Hue bridge acts as a translator between the Zigbee technology used by the Hue light and your WiFi network. which connects to your hue app and acts as the control hub for your smart lighting system.
This article will help you complete your setup process. We’ll show you how to connect your Hue hub to Wi-Fi and add lights to the Hue app.
How to Set Up Your Philips Hue System
To start, could you install the Philips bulbs in your chosen fixtures? For easy pairing with the bridge, it’s best to plug in the lights and the bridge simultaneously.
After installing the bulbs, turn on the switches. The bulbs will automatically turn on if everything is connected properly, showing they’re ready to pair.
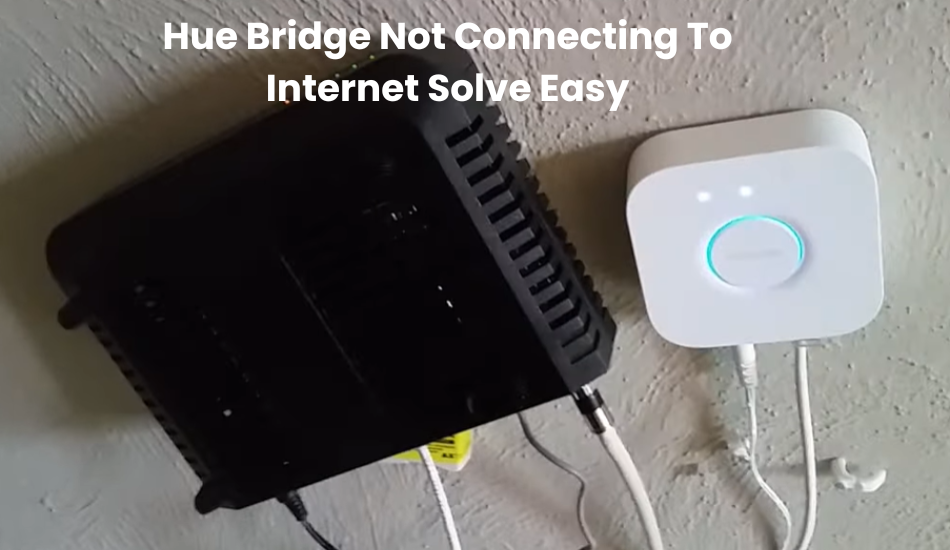
Next, set up the Hue bridge. Plug it into a power outlet using the power cord. The top-left light will glow when it’s plugged in correctly. Place the bridge near your router for the best connection.
Connect the Hue bridge to your router with the provided Ethernet cable. Plug one end into a port on the router and the other end into the bridge. Check the middle and top-right indicator lights; if the connection is successful and your router has internet, all three lights on top should be lit.
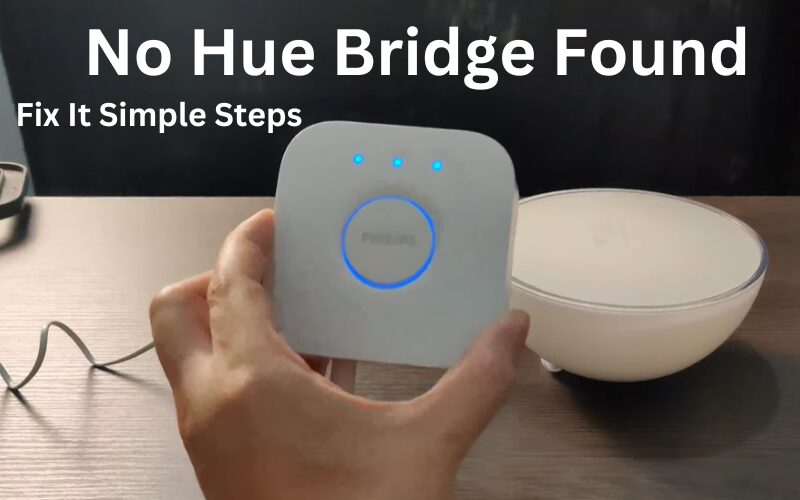
When the setup is complete and successful, all four lights on the bridge will glow power, network, internet, and link. This means your bridge is connected and ready to use. Now, download the Hue app to start setting up your devices.
Connect the Hue Bridge to Your Router
To connect the Hue Bridge to your WiFi network, you will first need to use the Ethernet cable. Follow these steps:
- Find your home WiFi router. This is where you will connect the Hue Bridge initially.
- Plug one end of the Ethernet cable into the port on the back of the Hue Bridge and the other end into an available port on your router.
- Give it a few moments for the Bridge to establish a connection with your router. The middle light on the Hue Bridge should turn solid blue, indicating a successful connection.
Install the Hue App
With your Bridge now connected to your router, you’ll need to install the Hue app on your smartphone or tablet.
- Go to the App Store (iOS) or Google Play Store (Android) and search for the “Philips Hue” app. Download and install on your device.
- Open your app and follow the on-screen instructions to create an account or log in if you already have used the app.
- The app should automatically start searching for the Hue Bridge connected to your network. If it doesn’t find it immediately, ensure that your phone is connected to the same WiFi network as the Bridge and try again.
Connect the Hue Bridge to WiFi
To move your Hue Bridge to a new location or change the network it’s connected to, follow these steps:
- Open the Hue app and tap on the settings icon.
- Select “Bridge settings” from the menu.
- Tap on “Network settings” to see the available options.
- You will see an option to switch the Bridge from an Ethernet connection to a WiFi connection. Select this option and follow the instructions to connect the Bridge to your WiFi network.
- Enter your WiFi network name (SSID) and password. The Bridge will then disconnect from the Ethernet and try to connect to the WiFi.
- After the Bridge successfully connects to the WiFi, the lights on the Bridge should indicate a stable connection.
Add Your Lights
The Hue app allows you to control up to 50 lights and accessories. Follow these simple steps to add new lights to the app:
- Go to Settings > Light setup, and click on the “+” symbol.
- Click on Search. The app will automatically look for available lights. If no lights are found, you can manually add one by entering its serial number.
- Once your light is found, it will blink. Tap on it in the app.
- Tap on the “i” icon to rename your light, or you can keep the default name. Repeat these steps to add more lights.
- After adding your lights, you can set up your rooms.
Troubleshooting Tips
- Check Connections: Ensure that the Ethernet cable is securely connected to both the Bridge and the router during the initial setup.
- Restart Devices: Restart your router and the Hue Bridge by unplugging them and plugging them back in.
- Update Firmware: Make sure the Hue app and the Hue Bridge firmware are up to date.
- Reset the Bridge: If all else fails, you can reset the Hue Bridge by pressing and holding the reset button on the back of the Bridge for 10 seconds. Then, start the setup process again.
How to Reset Your Hue Bridge Wi-Fi?
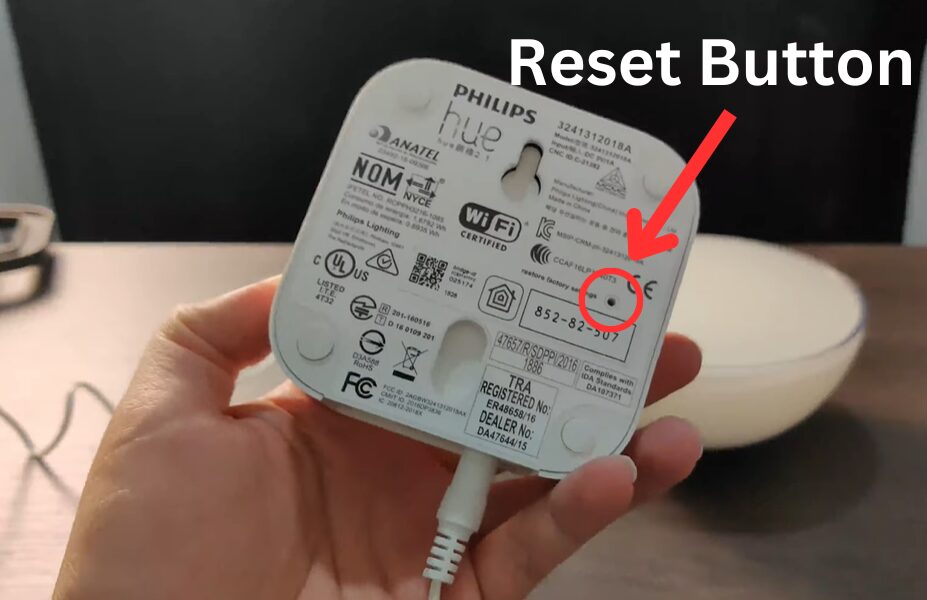
Resetting your Hue Bridge Wi-Fi is easy. Here’s how you can do it:
Factory Reset (Clears all data):
- First, disconnect the ethernet cable from your Hue Bridge.
- Turn the bridge upside-down and locate the “Factory reset button”.
- Use a paper clip to press and hold the button for about 5 to 10 seconds.
- This action resets your bridge, clearing all previous settings.
- After this, your router will reboot, and you can start setting up again from scratch.
Network Reset (Keeps bridge configurations):
- If you want to refresh your network without losing your bridge settings, follow these steps.
- Unplug the ethernet cable connecting your bridge to the router.
- Turn off both the bridge and the router.
- Wait for about 10-15 seconds.
- Turn them back on and reconnect the ethernet cable.
- This will refresh your network connection without affecting your bridge configurations.
Final Thoughts
Transform your smart home with Philips hue lights and solve the problem with a complete lighting solution. You can easily manage and control your lighting setup by connecting your Hue Bridge to WiFi. Integrate with Apple’s homekit for centralized control using Siri commands for your added convenience.
This hue bridge is the center point of the hue light system and is essential to effectively controlling and sorting out your lighting successfully. It goes about as the backbone behind your smart lighting system and ensures continuous activity in your home.

