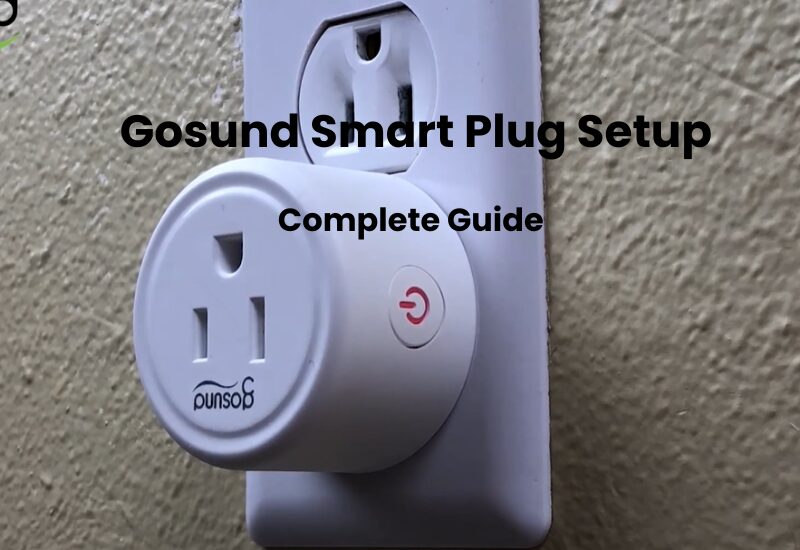
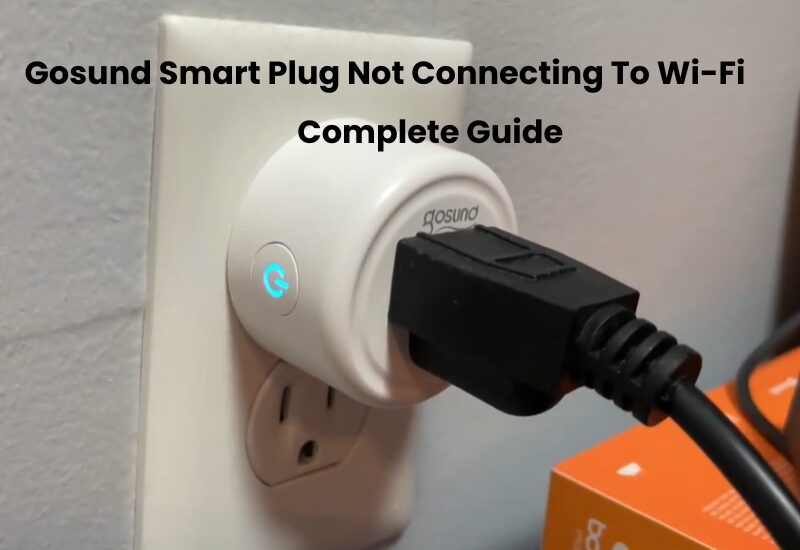
The Gosund Smart Plug is designed to make your life easier by allowing you to control your devices with a tap on your phone or a simple voice command which, like many people, I often forget to turn off lights or other appliances. But this product provides a quick solution to that problem.
Choosing the Gosund Smart Plug was an innovative game changer for me, and its easy-to-use app lets me control multiple smart lights in my home with a single tab. This device is fully compatible with Alexa and Google Home making voice control a breeze.
Once you’re connected to Alexa or Google Home, you’ll have effortless control over your smart plug. In this article, I will take you step by step through the setup process of the Gosund Smart Plug.
How to Set Up Your Gosund Smart Plug on Wi-Fi
Setting up a Gosund smart plug on your home Wi-Fi network is simple. Start by downloading the Gosund app onto your smartphone or tablet. Once installed, create an account and log in. With your plug ready, plug it into an outlet, and reset it to enable pairing mode. Open the Gosund app, follow the on-screen instructions, and add the device.
Gosund plugs are compatible with Tuya-based apps, so you can use alternatives like Smart Life or Tuya if preferred. However, the Gosund and Smart Life apps are user-friendly and work seamlessly for most setups.
Integrating the plug into your ecosystem is a logical choice if your smart home system is built around the Smart Life app. Below, we’ll guide you through adding a Gosund plug using the Smart Life app. You can stick with the Gosund app, which is available for download on Android and iOS platforms.
Before connecting your Gosund smart plug to your Wi-Fi, ensure the following:
- Your Wi-Fi network operates on 2.4 GHz (Gosund plugs are incompatible with 5 GHz networks).
- Ensure your mobile device is connected to the same Wi-Fi network.
- Disable any VPN or ad-blocking apps on your phone during setup.
- Plug the device close to your router for the initial setup and move it to its desired location later.
- Allow the app the necessary permissions, such as location, Bluetooth, and network access.
- Confirm the plug is in pairing mode (the blue LED should blink).
Fixing Your Gosund Smart Plug Setup Issues
Setting up your Gosund Smart Plug should be a breeze, but if you run into any issues, don’t worry—most problems have simple solutions. Here’s how you can troubleshoot common setup challenges:
If the indicator light on your smart plug isn’t blinking quickly during the setup, try this: Press and hold the On/Off button for 5-10 seconds. Once released, check if the light starts flashing. This step resets the device and prepares it for pairing.
Having trouble connecting your smart plug to WiFi? Don’t panic! Start with a quick reset by pressing and holding the On/Off button for 5-10 seconds. If that doesn’t work, switch the setup from Easy Mode to AP Mode. You can find this option in the Gosund app, and it often resolves compatibility issues.
Remember, the Gosund Smart Plug only works with 2.4 GHz WiFi. If your router supports both 2.4 GHz and 5 GHz bands, make sure to select the 2.4 GHz network when setting up the plug. This is crucial for a successful connection.
For the best results, position your smart plug close to your WiFi router during the initial setup. Once the setup is complete, you can move the plug to any location within your home as long as it’s within the router’s range.
Gosund Smart Plug Connectivity
If your Gosund Smart Plug keeps disconnecting or experiences unstable connectivity, your Wi-Fi signal might be the issue. Weak signals can result from interference caused by other electronic devices or physical barriers like thick walls. To resolve this, try placing your smart plug closer to the router or moving the router to minimize signal interference.
Sometimes, network conflicts happen when multiple devices share the same IP address. This can disrupt the connection of your Gosund Smart Plug. To avoid this, check your router settings and assign unique IP addresses to each device on your network. Resolving these conflicts helps create a smoother, more reliable connection.
Another possible problem is interference from your network’s security software or firewalls. These tools might unintentionally block communication between the smart plug and the router. During setup, temporarily disable these settings. Once the setup is complete, re-enable the software and add your smart plug as a trusted device to ensure it works without any future interruptions.
Set Up Your Gosund Plug
Setting up your Gosund smart plug is simple if you follow these steps. Start by connecting the device to a functioning power outlet. Once connected, the plug will power up and automatically enter pairing mode. You’ll know it’s ready when the blue LED light starts blinking. If it doesn’t, don’t worry. Just reset the plug by holding the power button for 5–10 seconds.
Gosund plugs offer two pairing modes: EZ Mode and AP Mode. By default, the plug uses EZ Mode, which is indicated by a rapidly blinking LED light. If you prefer AP Mode, reset the plug twice. The LED will then blink slowly, signaling that AP Mode is active.
To link your plug to the Gosund app and your home Wi-Fi, follow these easy steps:
- Open the Gosund app on your tablet or smart mobile phone.
- Tap the “+” icon to start adding your plug.
- On the left-hand menu, select the “Device” From there, choose the “Electrician” option. For a Wi-Fi plug, select “Socket (Wi-Fi).”
- Make sure your phone is connected to a 2.4 GHz Wi-Fi network. Enter the Wi-Fi password in the app and tap Next to continue.
- Confirm that your plug is in pairing mode. If the LED is blinking, hit the Confirm If that’s not the case, follow the instructions in the app to reset the plug.
- If needed, choose between EZ Mode or AP Mode by tapping the option in the top-right corner of the app.
- The app will discover your device, register it, and complete the setup process automatically.
- Give your plug a name using English letters or common characters.
- Once set up, you can control the plug directly from the app’s home screen.
After completing the setup, test the device to ensure it works as expected. You can now manage and control your Gosund smart plug effortlessly through the app.
Syncing Gosund Smart Plug
Connecting your Gosund Smart Plug to platforms like Amazon Alexa or Google Home is quick and easy. Simply open the app for your chosen platform, find the device pairing section, and follow the step-by-step instructions.
After syncing, you’ll be able to control your smart plug effortlessly using voice commands or through the app. This consistent connection helps your solace as well as improves your Gosund Smart Plug’s capabilities inside your more extensive smart home setup.
Experience the convenience of a connected home, where all your devices work together with just a tap or a simple voice command.
Using Voice Assistants with Gosund
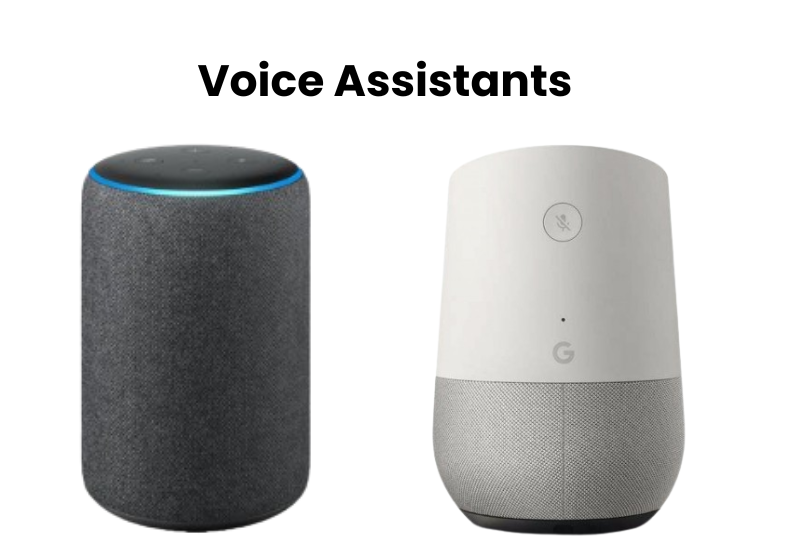
While using voice assistants like Alexa or Google Assistant with your Gosund smart plug can be convenient, you may occasionally run into issues. Below are some common problems and solutions to help you get your voice assistant working smoothly with your Gosund smart plug.
If you’re having trouble using voice assistants with your Gosund smart plug, here are some quick fixes:
- Check Wi-Fi Connection: Ensure both your smart plug and voice assistant device (Alexa or Google Assistant) are connected to the same Wi-Fi network (2.4 GHz).
- Re-link the Accounts: If voice commands aren’t working, try unlinking and relinking your Gosund account from Alexa or Google Assistant in their respective apps.
- Update Apps: Make sure both the Gosund app and voice assistant apps are up-to-date to avoid compatibility issues.
Voice Command Issues: Confirm that the correct device name is being used in your voice command. Double-check the name in the Gosund app.
Final Thoughts
These smart plugs turn your regular devices into smart ones, giving you more control and convenience. Setting up the Gosund plug is simple, and you’ll have it up and running in no time. Just make sure you download the right app—either the Gosund app or the Smart Life app, both trusted choices for getting your plug online.
Once connected, you can take advantage of features like scheduling when your devices turn on and off, controlling them remotely, linking them to your virtual assistant, and managing everything through the app.

