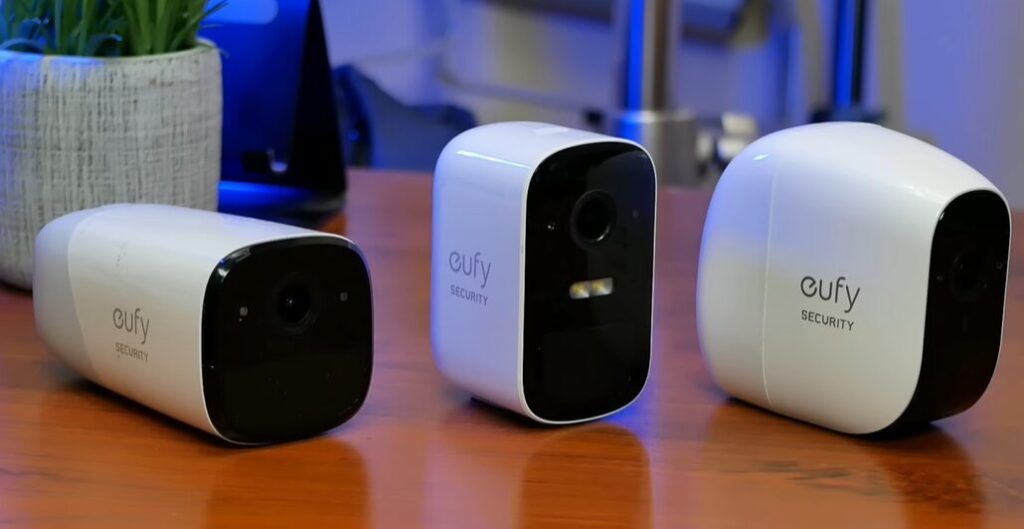
Digital Cameras A popular choice for smart home security is the Geeni Smart Camera. Many companies now offer high-quality WiFi connected cameras to enhance your home and office security.
These smart cameras let you monitor your home, receive motion detection alerts, and access various features remotely from anywhere, so you can increase security around your home with these devices.
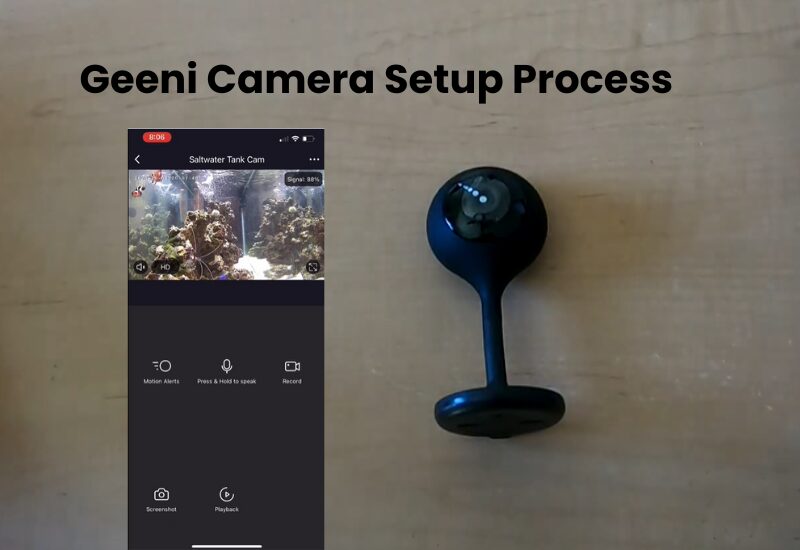
Among the options available, Mercury Innovation’s Geeni brand is known to be both affordable and reliable. Once you’ve purchased a Geeni Smart WiFi camera, the next step is to connect it to your home network. It allows you to customize and control the camera according to your needs.
How to Set Up Your Geeni Smart Camera on Wi-Fi?
To connect your Geeni smart camera to your home Wi-Fi, follow these steps. Start by downloading the Geeni app on your mobile device, connect it to a stable Wi-Fi network, power on the camera, and then use the app to complete the connection and setup process.
- Make sure your phone is connected to a 2.4 GHz Wi-Fi network. If your router combines both 2.4 GHz and 5 GHz on one name, separate them into different Wi-Fi names.
- Turn off any VPN or ad-blocking software on your phone to ensure a smooth setup.
- Start the setup close to your router. Once it’s connected, you can move it to its final location.
With these steps in mind, download the Geeni app from the App Store or Google Play. Install the app, open it, and create an account. Set up your location, accept the terms and conditions, and verify your account.
For Android users, avoid using the “Login with Google” option. This may prevent you from having full access to add devices. Instead, go through the standard sign-up, confirm your account, and set a secure password.
Finally, ensure your phone’s Bluetooth and location services are on. Grant location permission, as this helps the app detect devices on your network.
Power On Your Geeni Camera
Powering on your Geeni camera is the first step to getting it set up. However, there can be some common issues you might encounter during this process. Below are troubleshooting steps to help you resolve any problems you may face when trying to power on your Geeni camera.
- Plug in your Geeni camera to an outlet using the provided power adapter.
- Wait until the indicator light begins to flash. A blinking light usually means the camera is in pairing mode and ready to connect.
- If the light is not blinking, press the reset button on the camera for a few seconds until it does.
Set Up Your Geeni Camera Easily on the App
After completing the initial setup, adding your camera to the Geeni app is easy. Here’s a simple guide to help you get started:
- Before using the app, plug the camera into a working power outlet to turn it on.
- Launch the Geeni app on your phone. If this is your first device, tap “Add Device.” Otherwise, select the “+” icon in the top-right corner.
- From the list of device categories, select “Wi-Fi Camera.”
- Choose your 2.4 GHz Wi-Fi network, then enter your password. Tap “Next Step” to proceed.
- Confirm if the camera is flashing quickly. If it is, tap “Yes, it is flashing quickly” and move to the next step. If not, press the reset button on the camera for 5-10 seconds to enable pairing mode.
- The Geeni app offers two ways to connect the camera—QR mode and Easy mode. In QR mode (default), you’ll need to scan a code, while Easy mode allows connection without scanning.
- Hold your phone 6-8 inches away from the camera to scan the QR code. Once scanned, you should hear a voice prompt. Tap “I heard a prompt” to continue.
- The app will locate, register, and initialize the camera. A message confirming success will display once the process is complete.
- Tap the edit icon to rename your camera, then hit “Done” to complete the setup.
Now, your camera will be visible on the home screen of the app. Tap on it anytime for a live feed or to adjust settings as desired.
Position and Test Your Camera
Properly positioning your Geeni camera is essential for it to work at its best. Now that your camera is connected, you can position it in your desired location:
- Place the camera where you want it. Common spots include entry points, hallways, or living rooms.
- Adjust the angle to capture the field of view you want.
- Open the Geeni app to test the live view. This ensures you’ve positioned it correctly and can see the area.
How to Fix Geeni Camera Setup Connection?
If your Geeni camera isn’t connecting, it could be due to a few common reasons, such as trying to pair it with a 5 GHz Wi-Fi network or placing it too far from your router. Here are some important steps to help ensure a successful connection.
Geeni cameras are compatible only with 2.4 GHz Wi-Fi networks, not 5 GHz. Be sure to connect your camera to a 2.4 GHz network for smooth setup.
Using a VPN or an ad-blocking app on your phone may interfere with the pairing process. VPNs can hide your device’s IP address, which blocks your camera from communicating with your network. Turn off any VPN or ad-blocker while setting up your camera.
Ensure your camera is positioned close to your Wi-Fi router. If it’s too far away, it might struggle to maintain a stable connection.
During setup, allow any required location or Bluetooth permissions on your device. These permissions are often necessary for the initial pairing.
For reliable performance, set your Wi-Fi network encryption to WPA2-PSK with AES as the authorization type. This ensures a secure connection and helps your camera connect without issues.
The Geeni app has two setup modes—QR and Easy mode. If one isn’t working, try the other. Switching modes can sometimes resolve connectivity issues.

