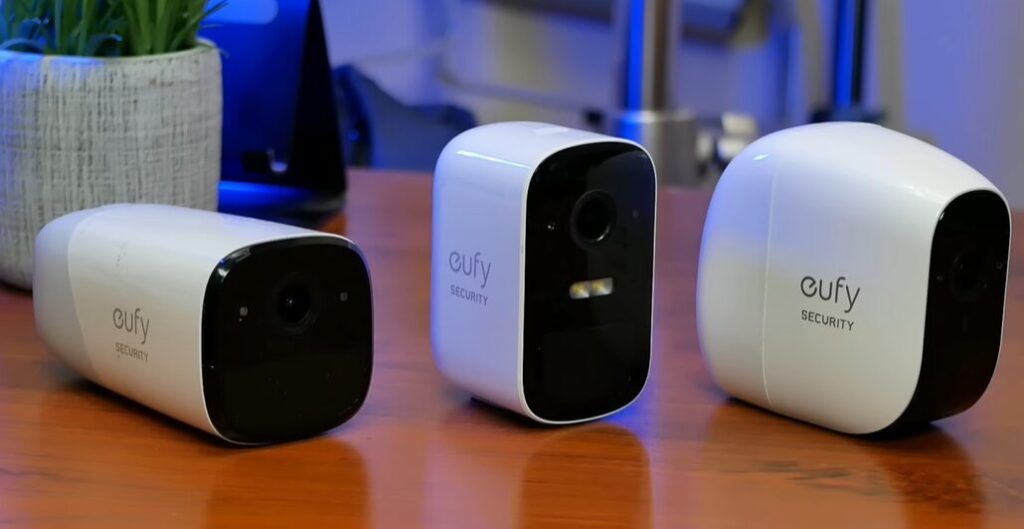
I like Eufy cameras because their local storage features are different from others. Once you buy the camera, you don’t have to worry about additional cloud storage fees.
If you’ve recently added a few Eufy cameras and are ready to set them up, I’m here to guide you through the process. I’ll help you get your Eufy security camera up and running smoothly on your network.
Eufy offers an assortment of camera models, each not the same as different brands with their elements. My personal favorite is the Eufy Camera 3. It comes with built-in solar panels, 4K video quality, and expandable storage via Homebase.
Some Eufy cameras, like the indoor and SoloCam models, connect directly to your Wi-Fi. Others, however, require a compatible Homebase to complete the setup.
How To Set Up My Eufy Camera To WiFi?
Setting up your Eufy camera to work with your Wi-Fi network is straightforward. Here is a simple guide to help you get started.
Start by connecting your HomeBase to your Wi-Fi network using the Eufy Security app. Open the app and follow the on-screen instructions to connect to the HomeBase. Once connected, power on your Eufy camera and sync it with the HomeBase.
For models that don’t require HomeBase, you can connect them directly to your Wi-Fi network using the app.
All Eufy devices are controlled through the Eufy Security app. Download and install the app on your smart mobile phone. After installation:
- Create a user account.
- Verify your account via email.
- Add your devices to this account through the app.
Before starting the setup process, ensure the following:
- Use a 2.4 GHz Wi-Fi Network: If your router broadcasts both 2.4 GHz and 5 GHz on a single SSID, disable the 5 GHz option during setup.
- Connect Your Phone to 2.4 GHz Wi-Fi: Ensure your mobile device is connected to the same network.
- Disable VPN or Ad Blockers: Turn off any VPN or ad-blocking apps that might interfere with the connection.
- Enable Bluetooth and Location Permissions: These are necessary for the pairing process.
- Stay Within Wi-Fi Range: Ensure you’re close enough to the router for a stable connection.
With these settings in place and a reliable internet connection, your Eufy camera setup should be smooth. Start by connecting the HomeBase to your router.
Connect the Camera to Wi-Fi
Sometimes, connecting your Eufy camera to Wi-Fi can be challenging. If you’re having trouble connecting your Eufy camera to Wi-Fi, try these solutions:
- Ensure your Wi-Fi is 2.4 GHz, not 5 GHz, as the camera only supports 2.4 GHz networks.
- Try restarting both your router and camera to reset the connection.
- Double-check the Wi-Fi password entered in the app is correct.
- If the signal weakens, move the camera closer to the router for a better connection.
Add Your Eufy Homebase to Your Network
Here’s a simple guide to add the Homebase to your home network:
- Launch the app on your phone or tablet.
- Tap the “+” symbol in the app to add a new device.
- Choose your Homebase model: Homebase, Homebase 2, or Homebase 3.
- If you’ve already set up a home in the app, select it. If not, tap “Add New Home” to set up one for your devices.
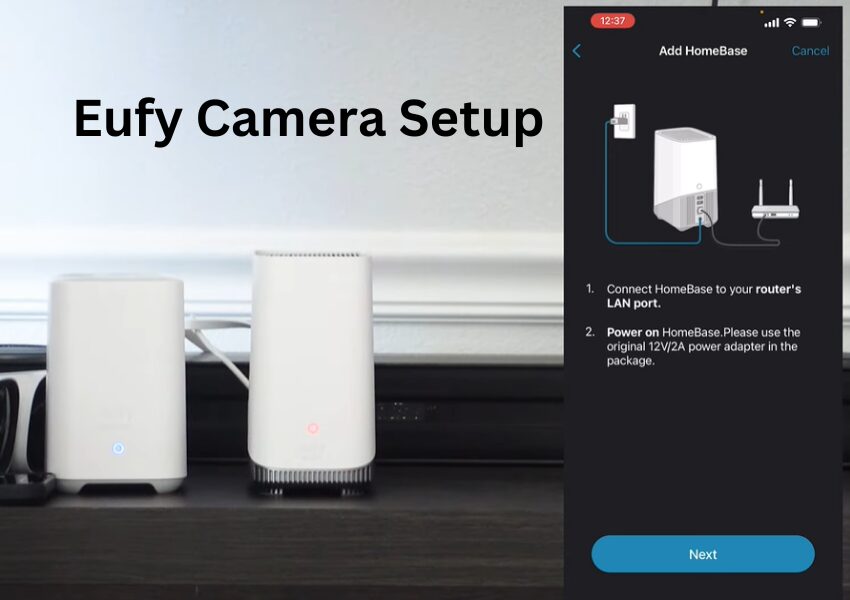
- Plug in the power adapter to turn on the Homebase. Next, plug one end of the ethernet cable into the LAN port on the Homebase and the other end into your router’s ethernet port.
- Give the Homebase a moment to sync. Once it’s connected to your network, the LED light will change from red to blue. When that happens, tap “Next” in the app.
- Find the QR code at the bottom of the Homebase. Scan it using the app, or manually enter the serial number. After scanning, the Homebase will announce that it has received the pairing request.
- Once you hear the voice prompt, press the SYNC button on the back of the Homebase until you hear a beep. This confirms the pairing with the app.
- Choose a name for your Homebase and tap “Continue.”
- Finalize the setup by customizing your camera settings. If you have a Homebase 3, you can also set up AI recognition for familiar faces.
Note: For Homebase 1 and 2, you can switch to a wireless Wi-Fi connection through the app. However, Homebase 3 requires a wired ethernet connection and does not support Wi-Fi.
Sync Your Eufy Camera with Homebase
Once you’ve added your Homebase, the next step is to sync your camera and get it connected. This will link your camera to both your Wi-Fi network and the Homebase.
You can sync the cameras right after setting up the base station by selecting the “Add more Devices” option.
Alternatively, you can tap the “Finish” button and add your cameras later from the home screen, just like you would with an add-on camera.
Here’s how to add your camera from the home screen:
- Launch the Eufy Security app and select Add Device.
- Choose the camera model you want to add. If you’re unsure, you can find the model number on the product box or the camera itself.
- Select the correct Homebase to connect the camera to.
- Press and hold the camera’s SYNC button for 2-3 seconds or until you hear a beep. Then, tap Next on the app.
- Give your camera a name. You can either choose one of the suggestions in the app or create your own.
- Set the camera’s working mode. You can select between optimal battery life, optimal surveillance, or customized recording. I prefer the optimal surveillance option. Once done, tap Next.
- Follow the on-screen instructions to finish the setup. The app will guide you on charging the camera and give some tips on mounting it for the final installation.
Once set up, you can test the live stream before installing the camera. Be sure to check that the location has a strong signal for the best performance.
Set Up Your Eufy Cameras Without a Homebase
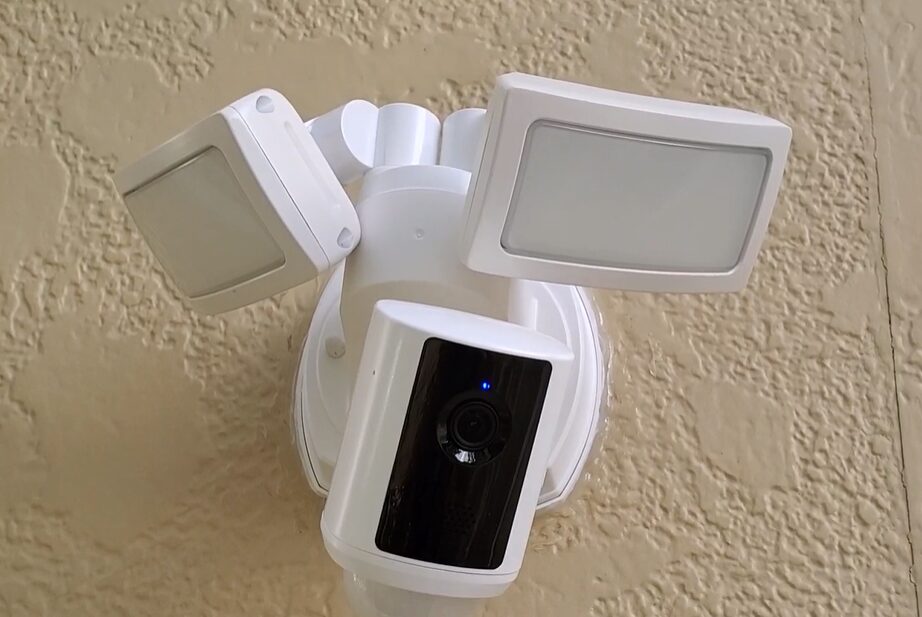
Some Eufy cameras, including models like Solo Cam, Indoor Cam, Floodlight Cam, and Indoor Cam Pan & Tilt, can connect directly to your Wi-Fi router without the need for a Homebase.
Setting these up is easy using the Eufy Security app. While the steps are based on the Eufy Outdoor Cam, the process is similar across other camera models, though there might be slight differences.
Here’s a simple guide to get you started:
- Open the Eufy Security app.
- Tap the “Add device” button.
- Choose your camera model from the device list. Select “Outdoor Cam” or the specific model you’re setting up.
- Pick the Home where you want to add the camera or create a new one, then tap “Next.”
- Plug the camera into a working outlet. Once the LED light turns solid blue, tap “Next.”
- Scan the QR code look at the bottom of your camera.
- Tap and hold down the Sync button until you hear a beep. This puts the camera in pairing mode, and the LED will blink blue.
- On the app, tap “Heard a Beep” to let the camera pair.
- Enter your Wi-Fi details by selecting your 2.4 GHz network and entering the correct password. Hit “Confirm” to continue.
- Give your camera a name.
- Insert and format your microSD card. Don’t interrupt this process—keep the camera powered on and don’t remove the card.
- Finally, install the camera in your desired location.
With these steps, your Eufy camera should be ready to go in no time!
Final Thoughts
Setting up your Eufy camera is easy with the Eufy Security app. Whether using a Homebase or connecting directly to Wi-Fi, the process is straightforward. Just follow the app’s steps, ensuring your Wi-Fi is set up correctly.
For Homebase models, make sure it syncs properly for the best performance. Once set up, enjoy local storage with no monthly fees.

