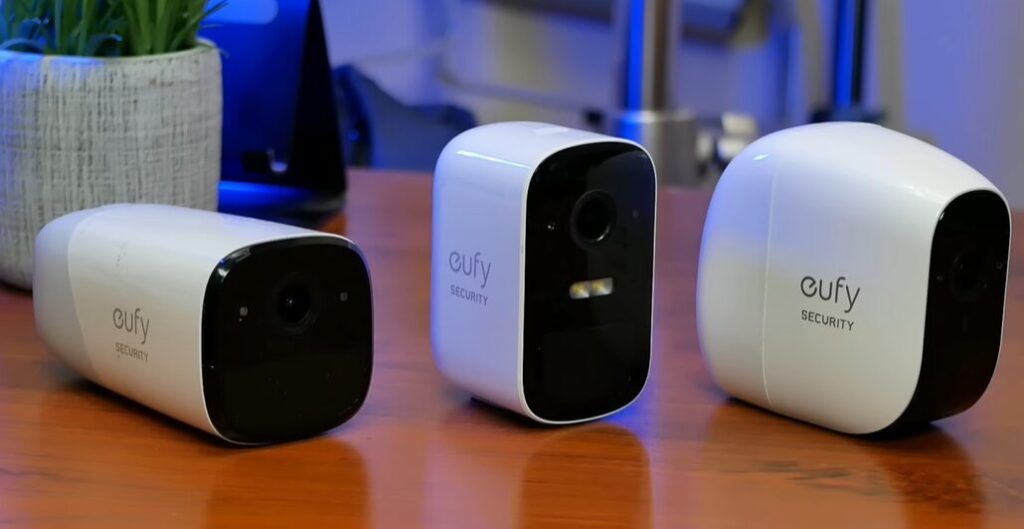
The Blink Sync module is an essential part of the Blink security camera system that connects your cameras to a WiFi network to allow users to view live feeds to receive alerts. It can be frustrating for you when your Blink Sync module is not working so no need to worry.
This article discusses the common reasons why it might fail and provides solutions to get it back up and running again, so let’s solve your problems together.
How To Fix Blink Sync Module Not Working?
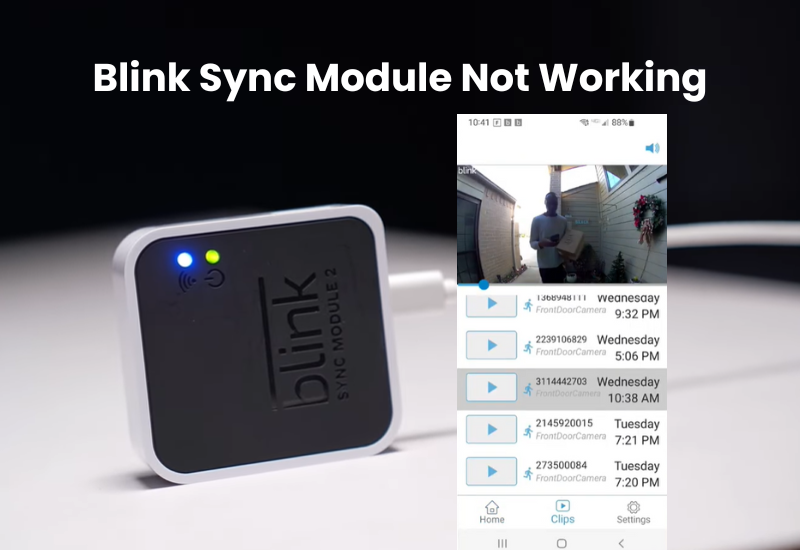
The Blink sync module may stop working if it loses its connection to your Wi-Fi network or experiences a power issue. To fix this, make sure the sync module is connected to a stable internet connection. When it’s properly connected, both LED indicators should show solid blue and green lights. If it still doesn’t work, try restarting the sync module by unplugging it and plugging it back in. This can help restore the connection.
The main purpose of the sync module is to let you control your Blink accessories through the app. However, if the connection is lost, you won’t be able to access your camera.
If you’re using Blink without an active subscription, double-check that the local USB storage is recognized in the app. Without a subscription or local storage, the system’s functionality is limited.
Here are some common issues that may cause your sync module to stop working:
- Weak or disconnected Wi-Fi network
- Power supply problems, such as using the wrong voltage or a faulty power cord
- Unrecognized local USB storage
- Software glitches within the Blink app
- VPN or ad blocker software running on your mobile device
- Corrupted firmware on the sync module
- IP conflicts with other devices connected to the network
To troubleshoot, first ensure your mobile device is on the same Wi-Fi network as the sync module. Also, turn off any VPN or ad-blocker apps, as these can hide your device’s IP address, making it difficult for the sync module to connect.
Troubleshooting Your Blink Sync Module Not Working
If your Blink Sync Module isn’t working, it likely means there’s a connection issue. This could happen if the device isn’t powered on or if it loses its network connection. The color indicators on the module can help diagnose and fix the issue.
To start, try a power cycle on both your Blink Sync Module and your network router. This quick step can often resolve connectivity problems without much effort.
First, unplug your router from the power source, wait about 2–3 minutes, then plug it back in. Once the router is back online, test the internet connection on your phone or tablet. Then, move on to power cycle the Blink Sync Module.
To do this, unplug the module from its power source, wait 5 minutes, then reconnect it. This gives it time to reset and reconnect to the network.
After rebooting, check the indicator lights on your module. A solid blue and green light means it’s properly connected to the internet. Open the Blink app to see if the module is now responding.
If it’s still not working, use the indicator lights to help pinpoint the issue:
- Solid blue and green lights: The Sync Module is connected to a working internet connection.
- No lights: The module isn’t receiving power. Try plugging it into a different outlet or check if the power cable is working.
- Solid red light: There’s no active internet connection.
- Blinking green light: This could mean there’s an IP address conflict. Restart your router to refresh the network settings, or assign a static IP address to the Sync Module.
- Blinking green and blue lights: This signals a weak network connection. Try moving the module closer to the router for a stronger signal.
Power Cycling Your Electronic Devices
Power cycling an electronic device can help reset its memory and refresh its connection to your home network. This simple process can often solve common connectivity issues.
First, check that all your devices are plugged into a working outlet. Look for the LED indicator light to confirm that the device is connected. Make sure the power LED light on your module is lit, indicating it is powered on.
To power cycle your device, unplug it from the outlet. Let it sit for about a minute to discharge completely, then plug it back in. This step should be applied to all your network devices, including Blink products.
In addition to power cycling, ensure that your power supply is stable. Confirm that your module is receiving the correct voltage. If you have any doubts, try using a different power cord or outlet. The sync module works with a 5V 1A USB adapter.
After you have power cycled the device, refresh the Blink app to see if the module is functioning correctly. This can help restore connectivity and improve performance.
Check your Internet Connection
When a connection is lost, some devices can’t reconnect on their own and may need a bit of help. A simple reboot often does the trick.
To check your network, try connecting to a smartphone or tablet and browsing the internet. If you’re disconnected or the signal is weak, reach out to your Internet Service Provider (ISP) to resolve the issue first.
Smart cameras need a strong and stable internet connection to sync properly with their servers. Ideally, you should have upload and download speeds greater than 5 Mbps.
If you change your network settings—like your Wi-Fi password or security type—you’ll need to update these changes on your connected devices. Just tap the “Change Wi-Fi” button and follow the instructions in the app to connect to the new network.
Keep in mind that Blink sync modules and cameras only work with a 2.4 GHz network.
If your router broadcasts both 2.4 and 5 GHz bands under one SSID, it’s best to separate them into two different networks. This separation prevents conflicts and ensures your devices connect to the right frequency.
Typically, power cycling your router and device can solve drop-in network issues. To do this, unplug the router from the outlet, wait for 20 to 30 seconds, and then plug it back in. Once the router is fully operational, repeat the same steps to restart the Blink module.
Move the Module Closer to the Router
The sync module needs a strong internet connection to function properly. It acts as the central control for your Blink security system. If the module is connected to a weak internet signal, it can be difficult to access the connected accessories.
Like any smart device, having a reliable internet connection is very important. The farther the sync module is from your router, the weaker the 2.4 GHz signal will be.
To improve performance, it’s best to place the sync module in a central location relative to your router. When the module has a stronger connection, it becomes easier to access it and the devices linked to it.
Check Your Local Storage
To use your Blink system effectively, it’s important to know that without a paid subscription, your access is limited to live view and motion alert notifications. The Blink Sync Module 2 features a USB port that can accommodate a storage capacity of up to 256 GB.
If you want to operate your system without a subscription, simply insert a compatible USB drive into the Sync Module for storage.
Make sure the Blink app recognizes your USB drive in the local storage section. To help with this, follow these steps:
- Make sure the Sync Module is turned on and connected.
- Disconnect the USB drive and then reconnect it. This action prompts the Sync Module to recognize and format the USB drive correctly.
- Check that the local storage status in the Blink app shows “Connected.”
Once you have armed your Blink system and enabled motion detection, clips will be recorded directly onto the USB drive for your convenience.
Factory Reset Your Blink Sync Module
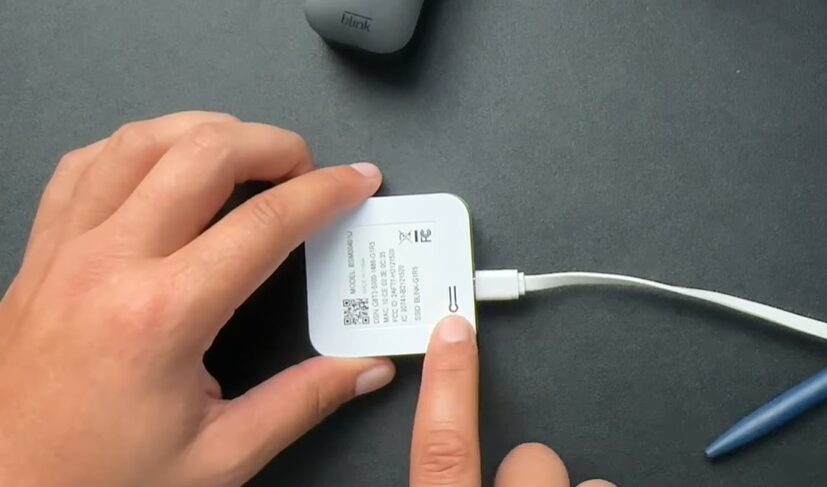
If restarting your network and Blink devices doesn’t fix the performance issue, your last option is to reset your Blink Sync Module.
When you factory reset the Blink Sync Module, it erases all your settings and returns it to its original configuration. After the reset, you’ll need to reconnect it to your network and pair it with your compatible devices. So, it’s best to consider this as a final solution.
Keep in mind that resetting the Sync Module will also reset any connected cameras.
To reset the Blink Sync Module, find the reset button on the device. Use a thin pin to press and hold this button for 5 to 10 seconds. Once you release it, the module will enter pairing mode and be ready to connect to your network.
Next, you’ll need to reconnect your module using the app. Open the app and follow these steps:
- Select Add New Device (Sync Module).
- Scan the QR code.
- Add it to your system.
- Discover devices.
- Enter your 2.4 GHz network details.
- Allow the firmware to update.
If the Sync Module still isn’t working, try moving it to a new system. First, remove it from the Blink app and reset it to the factory settings. During the setup process, select the option to add it to a new system when prompted by the app.
If that still doesn’t resolve the issue, you may need to perform a firmware reset. Here’s how:
- Unplug the Sync Module from power.
- Press and hold the reset button on the module while it is unplugged.
- While still holding the reset button, plug the power cord back in.
- Wait for the red light to appear, and then release the reset button.
- Finally, wait for the blue light to blink and the green light to become solid, then re-add the module to the app.
Final Thoughts
Dealing with a malfunctioning Blink sync module can be frustrating. Fortunately, there’s a simple fix that often works. Start by unplugging the sync module. Next, restart your Wi-Fi network and your internet modem. This quick action usually resolves the issue.
After the internet is back up and running, plug the sync module back in. Give it a few seconds to initialize. If everything is working as it should, you’ll see both LED indicators lit up in solid blue and green.
Sometimes, you might find that none of your devices can reconnect to the Wi-Fi. In that case, try power cycling both the sync module and the router. This step can often clear up connection issues and get everything back online.

