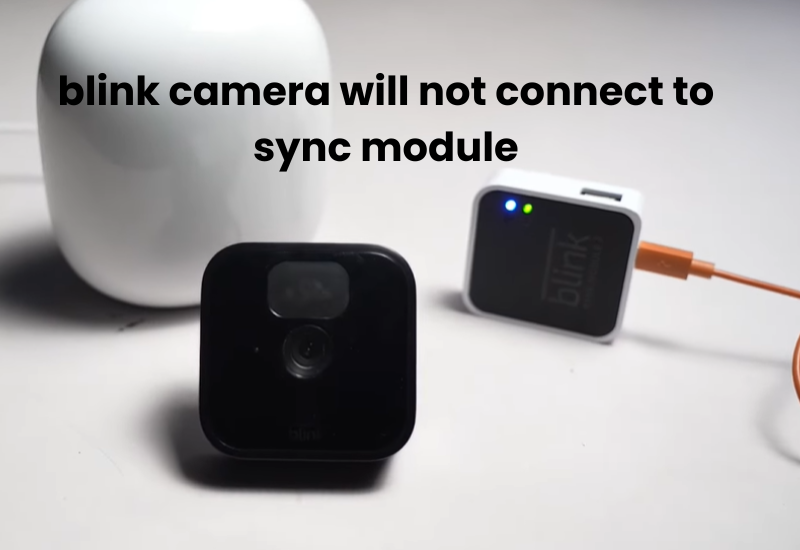
Blink cameras combine with the Blink Sync module to form a powerful home security system, and when connected, these devices offer features like easy footage storage, instant notifications, and the ability to view your camera remotely via the Blink app. Unfortunately, many users have been frustrated by connectivity issues that disrupt this integration.
A number of common problems can cause this problem which usually include wireless interference, weak signal from the router, wrong settings on Blink up, low battery level on the camera, and outdated firmware. Fortunately, there are straightforward troubleshooting steps you can take to reconnect your camera to the sync module.
In this guide, we will easily explore the common connection problems faced by Blink users and provide practical solutions. From optimizing your WiFi to making sure your camera has fresh batteries, we’re here to help your Blink devices communicate easily again. So without further delay let’s dive in together.
How to Connect Your Blink Cameras to the Sync Module
To get started, you must connect your Blink cameras to the Sync Module. If you’re unsure how to do this, you might face challenges with the connection.
Here’s how to connect your Blink cameras to the Sync Module:
- Launch the Blink app on your device and tap the ‘+’ icon to add a new device. This icon is located in the top-right corner of the screen.
- Tap on the “Blink Wireless Camera” tile to proceed.
- You can input the device serial number by either scanning the QR code located on the back of the camera or typing it in manually.
- If your camera has been added successfully, you’ll see a confirmation page. Tap the “Done” button to finish the setup.
And that’s it! Your Blink camera is now connected to the Sync Module. If you encounter any issues during the connection process, consider trying some troubleshooting steps to resolve them.
Blink Camera Network Connectivity
Smart home devices like thermostats, voice assistants, baby monitors, locks, and even microwave ovens can sometimes disrupt the connection between your Blink cameras and the sync module. Since many of these gadgets operate on the same Wi-Fi frequency, they can create signal interference, leading to lag, connectivity issues, or even disconnections.
If you notice your Blink camera acting up after adding new devices to your network, try turning off a few gadgets temporarily to see if the connection improves. While a quick power cycle might help for a bit, adjusting your Wi-Fi settings can be a more effective, long-term solution.
Here’s how to update your Wi-Fi settings for better Blink performance:
- Open your web browser and enter your router’s IP address to access the admin console.
- Go to the “Wireless” or “Wi-Fi” settings, then find the channel selection option.
- Choose a less crowded 2.4 GHz channel, such as 1, 6, or 11, for your Blink network.
- Save the settings and reconnect your Blink devices.
Making these adjustments can help keep your cameras online and reduce interference without having to turn off other smart devices. This way, all your tech can work together smoothly!
WiFi Signal Strength
A strong and reliable WiFi signal is crucial for keeping your Blink cameras connected and functioning properly. While the sync module can technically connect to devices up to 100 feet away, many other factors can affect the strength of the signal. Things like walls, floors, interference from other devices, and various obstacles can all reduce the effective range.
For the best results, try to place your sync module in a central location among your cameras. This setup improves two-way communication, allowing your footage to stream smoothly.
If you can’t move the sync module to a better spot, you might consider adjusting the placement of your cameras. Alternatively, you could invest in WiFi extenders or repeaters.
Using devices like the TP-Link RE505X or Linksys RE7000 can significantly boost your Blink kit’s signal. These Wi-Fi extenders support both 2.4GHz and 5GHz networks, providing a strong network connection to your devices.
To set up the extender, place it about halfway between your sync module and the camera that needs better connectivity. Make sure to follow the instructions in the extender’s manual for optimal placement. Once it’s installed, power it on and connect both your Blink devices to the new extended network.
Restart Your Devices
Restarting your devices can often resolve connectivity issues quickly. To do this, first, unplug the sync module from its power source. Wait for about 10 seconds to allow it to fully power down. While you’re at it, do the same for your Blink camera. After a brief pause, plug the sync module back in and allow it to boot up completely.
Once the sync module’s LED light shows a solid green light, indicating it’s ready, turn on your Blink camera. This simple action can refresh the connection between the sync module and the camera, clearing any temporary glitches that may have occurred. In many cases, this step is all it takes to restore proper functionality to your Blink camera system.
Powering Your Blink Camera via Wired Connection
Models like the Blink Mini can be powered continuously using a hardwired connection. For outdoor cameras, however, you’ll need a special outdoor-rated adapter. Make sure the adapter delivers at least 5 volts and 1 amp for consistent performance.
If you’re unsure how to power your Blink camera with a wired connection, follow these simple steps:
- Get a 5V/1A power adapter that has a micro USB male connector.
- Remove the silicone cover from the USB port on the camera.
- Plug the cable into the port. Be careful to avoid any bends or twists in the cable.
- Finally, connect the power adapter to an outlet and turn on the device.
If you’ve done everything correctly, your camera will start updating immediately after powering on. Let it complete this process before attempting to reconnect it to the Sync Module.
Keep in mind that the physical connections between the camera and the Sync Module can become loose over time. If you see good WiFi signal strength but experience slow notifications or buffering video, check the cables for a secure fit.
To ensure a tight connection, carefully unplug and reinsert the USB and power cables. Also, take a look at the status lights on your Sync Module. They can provide helpful diagnostic information.
Update the Firmware
Blink manages many complex tasks behind the scenes, ensuring your home security system runs smoothly. It handles everything from monitoring equipment to delivering app updates. With multiple integrated software components at play, keeping your firmware and settings current is essential.
Every Sync Module contains Linux-based firmware, which can become outdated over time. Blink frequently releases over-the-air updates to address bugs and introduce new features for your cameras. If your firmware is outdated, it can lead to connection issues and slow notification response times.
Updating Your Sync Module Firmware
To update your Sync Module firmware, follow these simple steps:
- Begin by opening the Blink app on your smartphone.
- Tap the Settings icon or option in the app.
- Choose your Sync Module and find the Firmware Update or Software Update section.
- Tap to check for any available updates. If you see an update, tap on it to start the installation.
- Give the update some time to complete; the duration will vary based on your internet connection speed. Make sure not to close the app or switch to another task during this process.
- After updating, try reconnecting your camera to the Sync Module.
Updating Your Blink Camera Firmware
While you’re updating, it’s a good idea to check your Blink camera’s firmware as well. Here’s how to do it:
- Launch the Blink app on your smart mobile device.
- Tap the Settings icon within the mobile app.
- Choose the specific camera you wish to update.
- Look for a Firmware Update or Software Update option, and tap to check for available updates.
- If there’s an update, tap on it to install.
- Just like with the Sync Module, give it a few minutes to complete. Avoid closing the app or switching to another task during the update.
To avoid software glitches, ensure that your Sync Module, cameras, and app are always up to date.
Reset Your Blink Camera
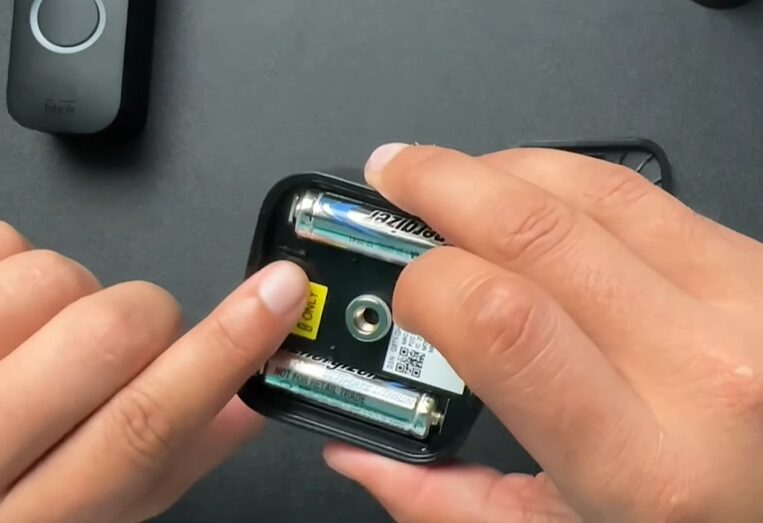
Resetting your Blink camera can fix many common issues, such as problems with connectivity or odd behavior. This process returns the camera to its original factory settings.
To perform a hard reset, follow these steps:
- Look for the reset button on your Blink camera. On some models, it’s located on the back, while for others like the Blink Mini, you’ll find it on the bottom. If you’re unsure, check your camera manual for the exact location.
- Using a paperclip or toothpick, press and hold the reset button for about 10 to 15 seconds. On certain models, you may need to hold it for 20 to 30 seconds.
- As you hold the button, the LED light will turn solid red. Once the reset is finished, it will flash red and blue.
- After the flashing sequence, release the reset button. Give your camera 1 to 2 minutes to restart and stabilize.
- Open the Blink app to re-add and sync your camera with the Blink system. It will be set back to its default, blank settings. Follow the prompts in the app for detection and setup.
Resetting your camera can often help it reconnect when other troubleshooting steps haven’t worked. With the camera returned to its factory state, you can easily reintegrate it into your Blink ecosystem. After completing the reset and reinstallation, make sure to thoroughly test your camera to ensure everything is working correctly.

