It’s a common misconception that your Arlo camera is always recording, but that’s not necessarily true. Many users assume this is because Arlo, like other wireless cameras, runs on batteries like conventional cameras, leading to the belief that your wireless cameras are constantly on even when not actively used.
However, if you rely on your Arlo camera for security, it is very important to check if it is recording, especially if you want continuous protection for your home or office.
Have you ever wondered how to tell if an Arlo camera is recording? As an Arlo camera owner, it’s natural to occasionally check that it’s still recording and securing your location, especially when you’re not around.
Your device has multiple operating modes and features that can make it difficult for you to know if it’s recording at any given moment but stick with our guide to clear up your confusion and know if your Arlo camera is recording.
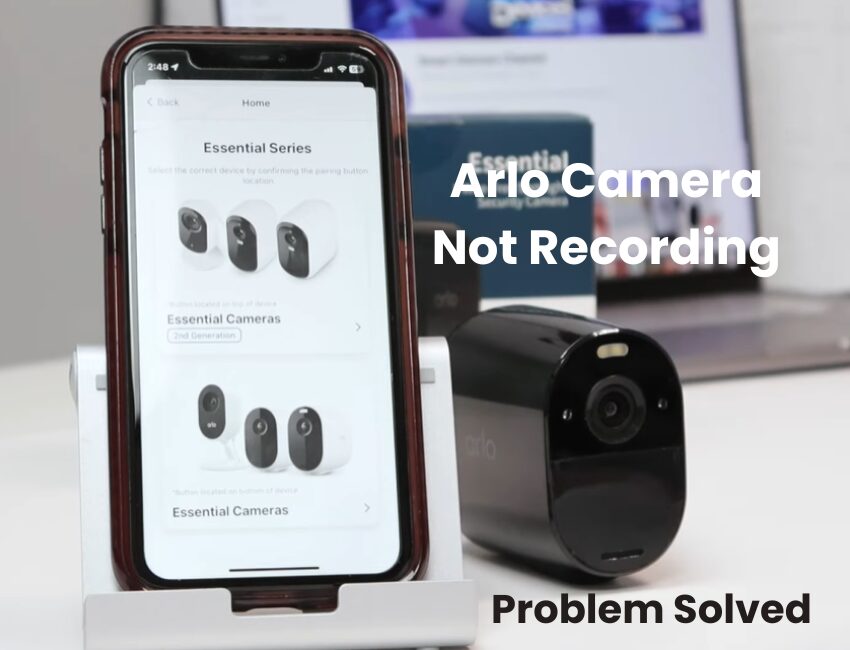
How to Fix Arlo Camera Not Recording?
If your Arlo camera isn’t recording, it could be due to a few reasons: no active subscription, lost internet connection, or unconfigured local storage. Make sure the camera has enough storage and a stable network connection for proper recording.
Arlo offers cloud or local storage. Cloud storage requires an active subscription (monthly or annual), while local storage works via a base station or smart hub. However, Arlo focuses more on cloud storage in its marketing. Here are some common issues:
- No active storage option (cloud subscription or local storage)
- The camera is offline or has a weak Wi-Fi connection
- Motion detection settings or sensitivity are not configured properly
- Camera settings (such as modes, filters, rules, or schedules) are blocking recordings
- Power issues (like a low battery in battery-powered models)
- Outdated firmware or software bugs
Make sure the camera is properly positioned and the lens cover is removed.
Without a cloud subscription, you won’t be able to access all the features your Arlo camera offers. However, there are still a few things you can do without a plan:
- Watch the live stream
- Receive push notifications
- Use two-way audio
- Benefit from auto zoom and tracking (available on some models)
- Use local storage for recording (if supported)
Some features, like activity zones, smart notifications, and alarm detection, are only available with a cloud storage plan. It’s important to check your camera’s compatibility and available features on Arlo’s website to see what works with or without a subscription.
Troubleshooting Arlo Camera Not Recording
Is your Arlo camera connected to an Arlo Secure plan, or is it not? This connection affects how and where you can access your camera recordings.
If your camera isn’t linked to a cloud plan, your options are more limited. You can either use local storage or rely on live feed access and notifications.
With a cloud plan, your camera will detect motion events and record them, making the footage available in the library or feed tab on the Arlo Secure app.
If you’re having trouble with your Arlo camera not recording, try these troubleshooting steps:
Ensure Arlo Camera is Online
Arlo cameras rely on a strong internet connection to record video clips and sync with cloud servers.
Before diving into troubleshooting, it’s best to ensure your camera is properly connected online.
For your camera to be online, it needs both internet access and a stable power source. If you’re using a wireless camera, make sure the battery has enough charge.
To confirm the camera’s connection, try accessing its live stream. If the video loads clearly, the camera is connected to your Wi-Fi.
You can check the status LED light on the camera. A steady blue light means the camera is powered on and connected. If the light isn’t blue, there may be a connection or offline issue.
To fix this issue, restart your camera and networking devices. Unplug the camera from the outlet, wait for 30 seconds, then plug it back in to restart the connection.
Once the camera is online, the next step is to enable motion detection and ensure it’s recording clips to your designated storage plan.
Adjust Your Motion Detection Sensitivity and Range
If your Arlo camera is missing important movements, adjusting the motion detection sensitivity and range can help improve its performance.
Launch the Arlo app, choose your camera, and navigate to Device Settings. Then, find Motion Detection or Motion Settings.
Adjust the sensitivity slider to a higher setting. This makes the camera more responsive to motion. Be careful not to set it too high to avoid false alerts.
If your camera isn’t detecting distant movement, adjust the Activity Zones or Motion Detection Range to expand or focus its coverage.
After making changes, test your camera by walking in front of it. Adjust the settings again if you’re still missing or receiving too many alerts.
Check Your Arlo Plan and Subscription
If your camera doesn’t have direct storage access, you need an active Arlo subscription plan to record and store clips on the Arlo cloud.
To check if your camera is assigned to a plan, follow these steps:
- Launch the Arlo Secure app on your smart mobile phone.
- Go to Settings.
- Tap Subscription under account options.
- Select Manage Cameras to view the cameras linked to each storage plan.
In the Manage Cameras section, you’ll see a list of your cameras and their corresponding plans. If your camera is listed under the “No plan” option, simply drag it to a plan to add it.
For iOS users, you can also log in to your my arlo account to manage your camera subscriptions.
If your subscription has expired, you’ll need to renew it or switch to local storage to continue enjoying the services. After making changes, power cycle your camera to apply the updates.
Adjust Your Arlo Camera’s Armed Mode
Arlo provides several modes to customize your camera experience, allowing you to adjust how it reacts to triggers at different times. Each mode allows you to manage how and when your cameras respond to motion or sound.
The four main modes for Arlo cameras are:
- Armed – The camera detects motion and records video.
- Disarmed – The camera doesn’t detect motion or respond to audio triggers.
- Schedule – Set specific times for when you want the system armed or disarmed.
- Geofencing – Enable or disable settings based on your device’s location.
In this article, we’ll focus on the Armed mode. If you’ve customized any other modes, it’s a good idea to double-check that they aren’t preventing your camera from recording.
The Armed mode allows you to adjust motion detection, sensitivity, and video recording settings. The sensitivity level determines how easily the camera detects motion. Increasing the sensitivity makes the camera trigger more frequently.
Here’s how to check and adjust your Armed mode settings:
- Launch the Arlo Secure app or sign in to your account.
- Select the Mode option.
- Choose the camera you want to adjust.
- Tap the pencil icon next to the Armed setting.
- Tap the pencil icon under the Rules section.
- Edit the Motion is detected setting—increase the sensitivity and save your changes.
- Make sure the Record video is selected.
- Tap Done to save your settings.
To test motion sensitivity, go to Settings > Device Utilities > Motion Detection Test. Try different sensitivity levels and see when the front LED blinks to find your ideal setting.
Update Camera Firmware
Outdated firmware can cause different issues, including keeping your Arlo camera from recording appropriately. Firmware updates are urgent on the grounds that they fix bugs, further, develop camera performance, and ensure the gadget stays viable with new elements or software. If your Arlo camera isn’t recording, it might be due to outdated firmware.
- Open the Arlo app on your smart mobile phone or tablet.
- Go to the Device Settings for the camera you want to update.
- Tap on Device Info or the equivalent option.
- A notification will appear if an update is available. Just follow the on-screen steps to begin the update process.
- Ensure your camera remains powered on and within range of your Wi-Fi during the update.
After the update is finished, restart your camera to make sure the new firmware is fully installed. Updating your firmware regularly can improve your camera’s functionality and ensure that it continues recording without issues.
Reset The Arlo Camera
If your camera is connected to a stable network and the settings are correct, you should receive recordings without issue. However, if this isn’t happening, the camera’s firmware might be the problem.
To fix this, try resetting the camera. A reset can help clear out any corrupt firmware that may be affecting your camera’s performance.
A soft reset refreshes your camera without removing it from your account, unlike a factory reset, which erases everything.
Here’s how to perform a soft reset:
- Unplug it for about 1-2 minutes, then plug it back in.
- Use the restart option in the Arlo Secure app. For other wire-free models, remove the batteries for around 30 seconds and then put them back in.
A factory reset will completely erase the camera from your account and restore it to its default settings. You’ll need to set it up again using the app to continue using it.
To factory reset your Arlo camera:
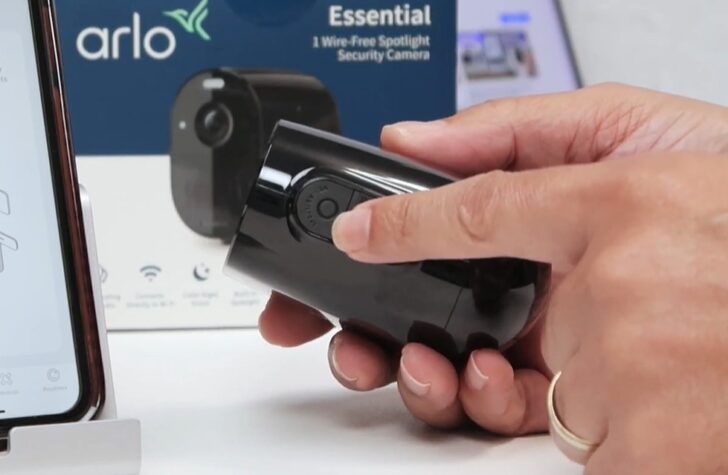
- Make sure the camera is powered on.
- Press and hold the sync button for 15 to 20 seconds.
- When the status LED blinks amber three times, release the button (don’t hold it too long).
- Once reset, re-pair the camera using the app, adjust your settings, and check the recordings.
This process should help resolve any issues and get your camera back to working properly.
Contact Arlo Support
If none of the solutions above resolve the issue, contacting Arlo support is the next step. Their team can help troubleshoot your camera’s specific problem and offer personalized solutions. To contact support, open the Arlo app or visit the Arlo website. You can reach them through chat, email, or phone for further assistance.
Conclusion
If your Arlo camera isn’t recording, don’t worry—there are several steps you can take to fix it. Start by checking your camera’s settings and connections. Make sure it’s connected to the internet, has an active subscription or local storage, and the motion detection settings are properly configured.
If your camera is offline, ensure it’s charged or plugged in, and restart it if necessary. Adjust the sensitivity of the motion detection to catch more activity, and check your Arlo plan to ensure it’s set up for cloud storage. Don’t forget to check for firmware updates and reset the camera if needed.

