Imagine relying on your Arlo camera for home security, only to find it’s not connecting when you need it most. This problem can be frustrating for you and can weaken your home. It can be a weak WiFi signal, a power problem, or a software error, and these connection problems can disturb your peace of mind.
Good news? Most of these problems on your device will be solvable with a few simple steps. With this guide, you’ll learn how to troubleshoot common problems like weak signals, incorrect settings, and power failure. From basic solutions like checking WiFi to advanced solutions like resetting the camera, you’ll get rid of this problem in no time.
In this guide learn simple solutions that can reduce stress, save you time, and keep your home security system running smoothly. Let your Arlo camera reconnect and secure your home again.
Why Arlo Cameras Won’t Connect to Wi-Fi?
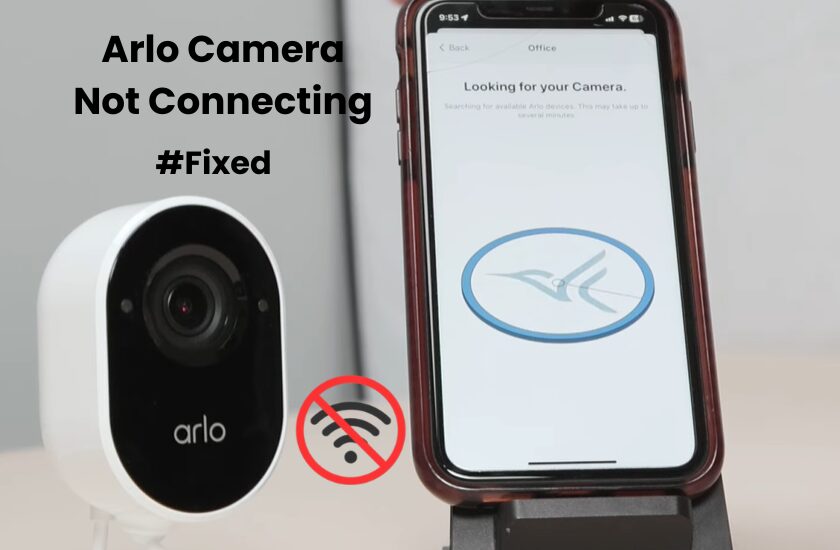
If your Arlo camera isn’t connecting, it’s usually because of a few common issues, like an incompatible Wi-Fi network or a VPN running on your mobile device. To connect your camera successfully, make sure you’re using a 2.4 GHz Wi-Fi network and disable any VPN on your mobile.
There are a few other factors that might prevent your camera from connecting. Here’s a list of possible reasons:
- Many Arlo cameras work best with a 2.4 GHz network. Once the initial setup is complete, the Arlo Pro 5s can connect to both 2.4 GHz and 5 GHz networks.
- If your Wi-Fi signal is too weak, it may not be strong enough to connect your camera.
- These can hide your IP address, keeping your phone from connecting with different gadgets on your network.
- Features like MAC address filtering, firewall settings, or port blocking can interfere with the connection.
- Ensure your camera is positioned within your Wi-Fi network’s range..
- If these permissions are disabled, it may block the connection.
- The camera should be flashing blue rapidly to indicate it’s in pairing mode.
- Sometimes the problem is with the camera itself or another device in the setup.
If you’re having trouble connecting, check the Arlo status LED indicator for troubleshooting help. And if you’re using a Base Station in your setup, refer to the article on syncing Arlo cameras for further guidance.
Troubleshooting your Arlo Camera Not Connecting to Wi-Fi
When setting up your Arlo camera, make sure your mobile device is connected to the same 2.4 GHz Wi-Fi network. Also, grant the required location and Bluetooth permissions to make the device discovery process smoother.
Check that the camera is properly set up with the LED indicator flashing blue while pairing to the app. This process typically takes about 2 minutes before the camera enters standby mode.
For Arlo’s battery-powered models, ensure the batteries are fully charged before starting the setup.
Follow these tips to easily connect your camera to your network and base station.
Check Router Settings
To connect your camera, you’ll need a Wi-Fi network that’s set to a 2.4 GHz frequency band. Ensure that your router is set to broadcast on the 2.4 GHz frequency. If your router uses both 5 GHz and 2.4 GHz under a single SSID, go into the router’s admin settings and temporarily turn off the 5 GHz option. Once the camera is connected, you can turn the 5 GHz back on.
Another option is to separate the 2.4 GHz and 5 GHz frequencies into two different networks with unique SSIDs and passwords.
While you’re in the router settings, make sure that MAC address filtering is disabled. This feature can block devices from connecting by preventing the router from assigning an IP address to unknown devices, which could cause issues when setting up your camera.
Also, ensure that your Wi-Fi encryption is set to “WPA/WPA2” security. Newer encryption standards like WPA3 can be difficult for smart home devices to handle.
Make sure your mobile device is connected to the same Wi-Fi network you want to use for your camera. For a more reliable connection, consider turning off your cellular data during the setup process.
If you’ve made any changes in your router’s admin settings, forget the Wi-Fi network on your mobile device, restart both your devices, and reconnect to the updated Wi-Fi.
Before trying to reconnect your camera, test your internet to ensure it’s working. Then, attempt to connect your camera and check if the connection is successful.
Power cycle your Devices
Power cycling your devices is a simple but effective way to resolve many connectivity issues, including when your Arlo camera isn’t connecting.
To power cycle, turn off both your Arlo camera and your router, then wait for about 30 seconds. After the pause, turn your router back on first and wait for it to fully restart. Once the router is back online, power up your Arlo camera.
This process can help clear temporary glitches or network congestion, allowing your camera to reconnect to the Wi-Fi more smoothly. Power cycling can often fix minor software or connection issues and is a quick first step in troubleshooting.
Move The Router Closer Your Camera
The signal strength decreases as you move farther from the main router or when there are more obstacles in the way.
For the best results, set up your camera near the router first, then move it to its final location.
This ensures the camera receives a strong signal during setup, helping it connect to your account and communicate with cloud servers.
To prevent offline issues, make sure the camera’s installation spot gets a reliable network signal, whether it’s indoors or outdoors.
If your signal is weak, consider upgrading to a mesh network system or adding a Wi-Fi extender to improve coverage.
Recharge or Power the Camera
If your Arlo camera isn’t connecting due to power issues, the first step is to check if the battery is charged or if the camera is receiving power. For battery-powered models, a low battery can prevent the camera from functioning correctly. To fix this, ensure the battery is fully charged. You can do this by removing the battery and charging it with the included charger. Once the battery is charged, insert it back into the camera and check if it connects.
For wired Arlo cameras, check the power supply by confirming that the camera is plugged into a working outlet. You can try plugging the device into a different power outlet or check the power cable for any visible damage. If the camera still doesn’t power up, reset the camera or try a different power source. Once the camera is properly powered, it should be able to reconnect to your network.
Trun Off Your VPN and Ad guard
When you use a VPN or an ad blocker like AdGuard, they hide your mobile device’s IP address, making it unable to communicate with other devices on your network.
While connected to a VPN or ad blocker, your device appears to be on a different network, separate from your router’s local network.
This can cause issues with your camera’s hotspot, as it may block the network, preventing it from showing up in the list of available connections.
To set up your smart devices properly, turn off the VPN and ad blocker.
Additionally, check that your router’s firewall isn’t blocking any necessary ports during the setup process.
Reset Your Arlo camera
If your Arlo camera is not connecting to the network or responding as expected, resetting it may resolve the issue. A factory reset will clear all previous settings, allowing you to start fresh and reconfigure the camera. Here’s how to reset your Arlo camera:
First, find the reset button on your Arlo camera. The position of the reset button can vary depending on the model. The reset button on most Arlo cameras is small and located in a recessed area. You might require a paperclip or pin to press it.
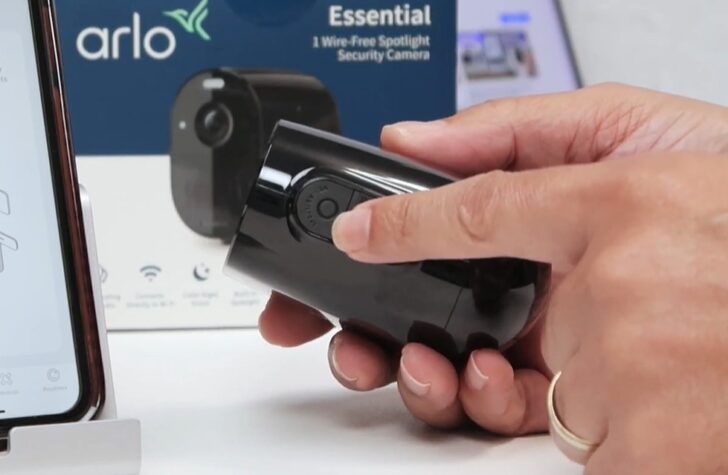
Once you’ve found the reset button, press and hold it for 10 to 15 seconds. You should see the LED light on the camera start blinking, indicating that the reset process has begun. After a few seconds, the camera will reset and restart.
After pressing and holding the reset button, wait for the camera to fully restart. The LED light will blink amber and then turn blue, signaling that the camera is ready to reconnect to the network.
Once the camera is reset, open the Arlo app on your mobile device. Follow the prompts in the app to reconnect your camera to your Wi-Fi network. You will need to re-enter your Wi-Fi credentials and set up any desired features.
After the camera has been successfully reset and reconnected, test it by viewing the live feed or checking the camera’s functionality to ensure it’s working as expected.
Troubleshooting Tips
- Check the camera’s LED light: If the light on your Arlo camera is blinking red or amber, it indicates a connection issue. If it’s solid green, your camera is connected and working properly.
- Try connecting with another device: Sometimes the issue might be with the device you’re using to view the camera. Test accessing the camera on a different phone or computer to see if the issue is specific to your device.
- Contact Arlo Support: If you’ve tried everything and still can’t fix the issue, it’s time to reach out to Arlo customer support. The camera might be defective or have corrupted firmware. Getting in touch with the support team will likely help you get a replacement unit.

